I turned to the Covert Comp from Black River Tactical as a bit of a last resort. I tried several a handful of other linear compensators and found that, while they did direct the blast and flame forward, that is really all they did. The fireball created by the short AR-15 pistol barrels that I was using them on were nearly as large as they were with a bare muzzle. It just seemed like someone should be able to do better.
Black River Tactical claims that their Covert Comp, a linear compensator with a unique internal geometry, suppresses flash nearly as well as an A2 flash suppressor. I found that to be true on a 16″ barrel but the biggest surprise was the Covert Comp’s performance on an 11.5″ barrel.
Overview
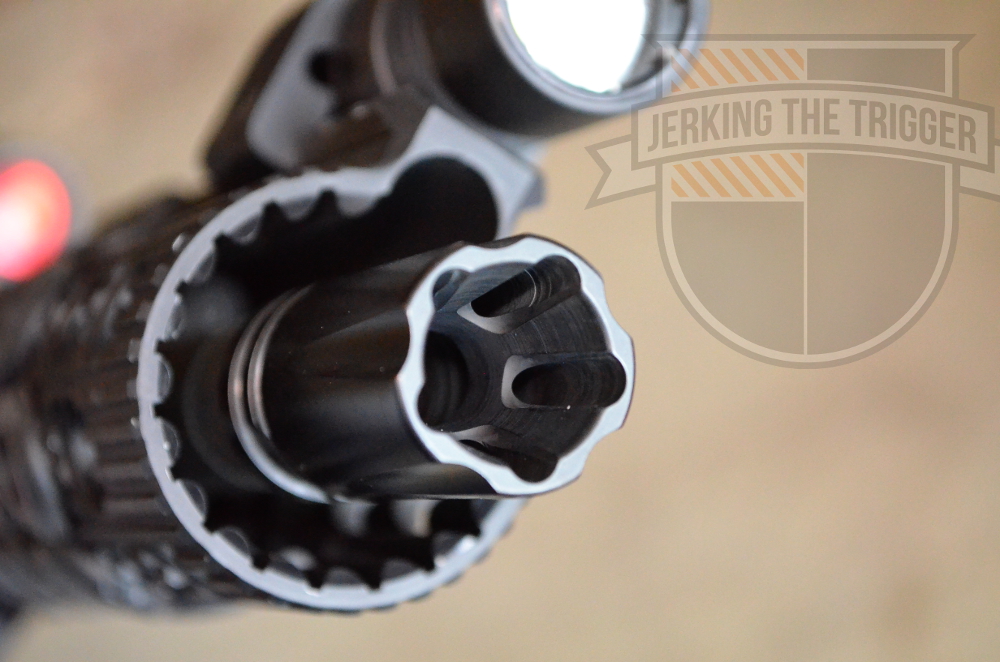
The Covert Comp is one of the most compact linear compensators on the market. It is just under 2″ in length which is significantly smaller than most. It weighs 2.2 ounces which is roughly the same as an A2 flash suppressor.
It also features a Melonite QPQ finish for durability and corrosion resistance. In my experience, Melonite finishes are basically corrosion-proof. You will have to go out of your way to get it to rust.
Linear Comp Background
I should probably start by explaining what a linear compensator is for those who may not know. In its simplest form, a linear comp is a muzzle device with a cone-like internal shape that opens away from the shooter. This cone shape redirects the concussion and hot gasses that escape the muzzle forward and away from the shooter. This generally has a compensating effect on muzzle rise, slightly increases felt recoil (equal and opposite reaction), and reduces the PERCEIVED sound level to the shooter and those around the shooter. It does not actually reduce the sound. It just redirects some of it down range. Manufacturers of these devices will often add a sort of blast wall/baffle that can help mitigate the recoil enhancing aspect of a simple cone design linear comp.
These devices also tend to be very neutral in how the muzzle moves (no up, down, left, or right movement) since the muzzle gases are not directed in any specific direction but rather spread evenly around the bore and pushed forward. However, it is up to the shooter’s skill to completely capitalize on this performance. A capable shooter will find that the firearm basically just recoils straight back with little to no muzzle rise.
The largest downside to these devices is that they do very little to reduce flash. They generally produce impressive fireballs that nearly match the size an intensity of a bare muzzle. This is often accepted as the trade off for the slight reduction in ear splitting concussion at the shooter’s position.

Observations from Use
That is enough about linear comps in general. Let’s dive into the Covert Comp itself. The performance of this device is great but until you actually try it, the most attractive feature will be its size. Many of the linear compensators on the market are absolutely pigs. They can be larger than a film canister (remember those?) and weigh 6 ounces or more in some cases. The one that I used previous to the Covert Comp is considered one of the more compact options available. It is a little more than 1/16″ longer and almost an ounce heavier than the Covert Comp. Suffice it to say, the Covert Comp is one of the most svelte devices of this type.
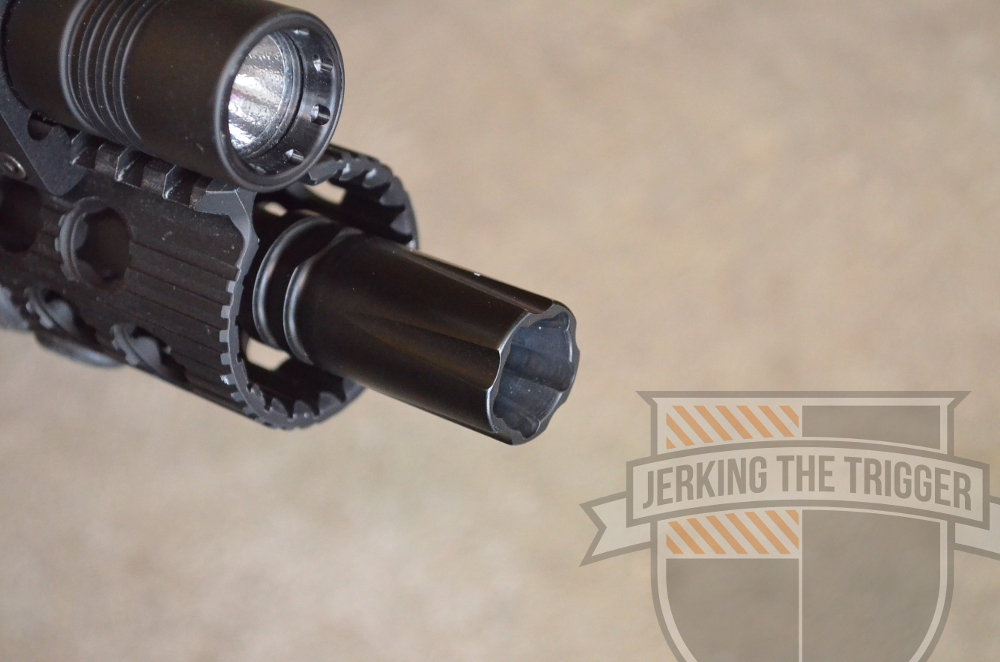
I don’t normally comment on how something looks because tastes vary so widely but it is appropriate in this case given the outlandish designs of many linear comps. Many of the linear comps on the market seem to be in a competition to see which can look the most like one of those jacked up Bro-Trucks. The Covert Comp is understated in both its Smooth and Fluted version. The Smooth version is a simple cylinder in appearance and the Fluted version just adds some small flutes to break up the profile. I appreciate that.
I test the Covert Comp with three different types of ammo (62gr 5.56 Lake City SS109, 75gr .223 Black Hills Blue Box, and 75gr .223 Prvi Partisan) and on two different barrel lengths (11.5″ and 16″).
I generally don’t think of using this type of muzzle device on anything other than a short barrel but my time with the Covert Comp may have changed my mind. The best way that I can describe the performance is in comparison to the A2 flash suppressor. If you can imagine a device that suppresses flash just as well as the A2 but has less muzzle rise and similar recoil, you would know what it is like to shoot the Covert Comp on a 16″ barrel. It is a very well rounded device, providing very neutral muzzle rise mitigation and very acceptable flash suppression with quality ammo. It changed the way I think of linear comps. I now see their potential as all around muzzle devices rather than just a niche item for short barrels.
The biggest surprise of the test came when I tried it on one of my 11.5″ pistols. On the 11.5″ barrel, it wasn’t just nearly as good as an A2. It was better! The previous linear comp that I used on this build did a good job directing the concussion but it still produced a roughly beach ball sized flash with every shot. The A2 seemed louder at the shooter’s position and still produced a roughly basketball sized flash. The Covert Comp produced a dull orange flash that ranged in size from grapefruit to volleyball. There was certainly still visible flash but the internal geometry of the Covert Comp was working some magic. In my opinion, this is incredible performance on a short barrel compared to any linear comp that I have tried… and many flash suppressors that I have tried.
Wrap Up
I started this review looking for a muzzle device specifically for shorter barrels. By the end of the review, I find myself wondering why more people aren’t using linear comps on longer barrels. The answer is probably that they haven’t used the Covert Comp yet. I am exceedingly impressed with how well rounded this device is. It has changed what I expect from muzzle devices of this type.
Check out the Covert Comp at Black River Tactical. It is available for a variety of common calibers.