Hopefully you are familiar with the concept of TacPack by now. If not, you can read the reviews of the previous TacPacks for some background. I recently received the September TacPack and here are the details…
September’s box is another one that delivers not only good value, but useful items. The usefulness of the items included continues to be my favorite thing about TacPack’s subscription service.
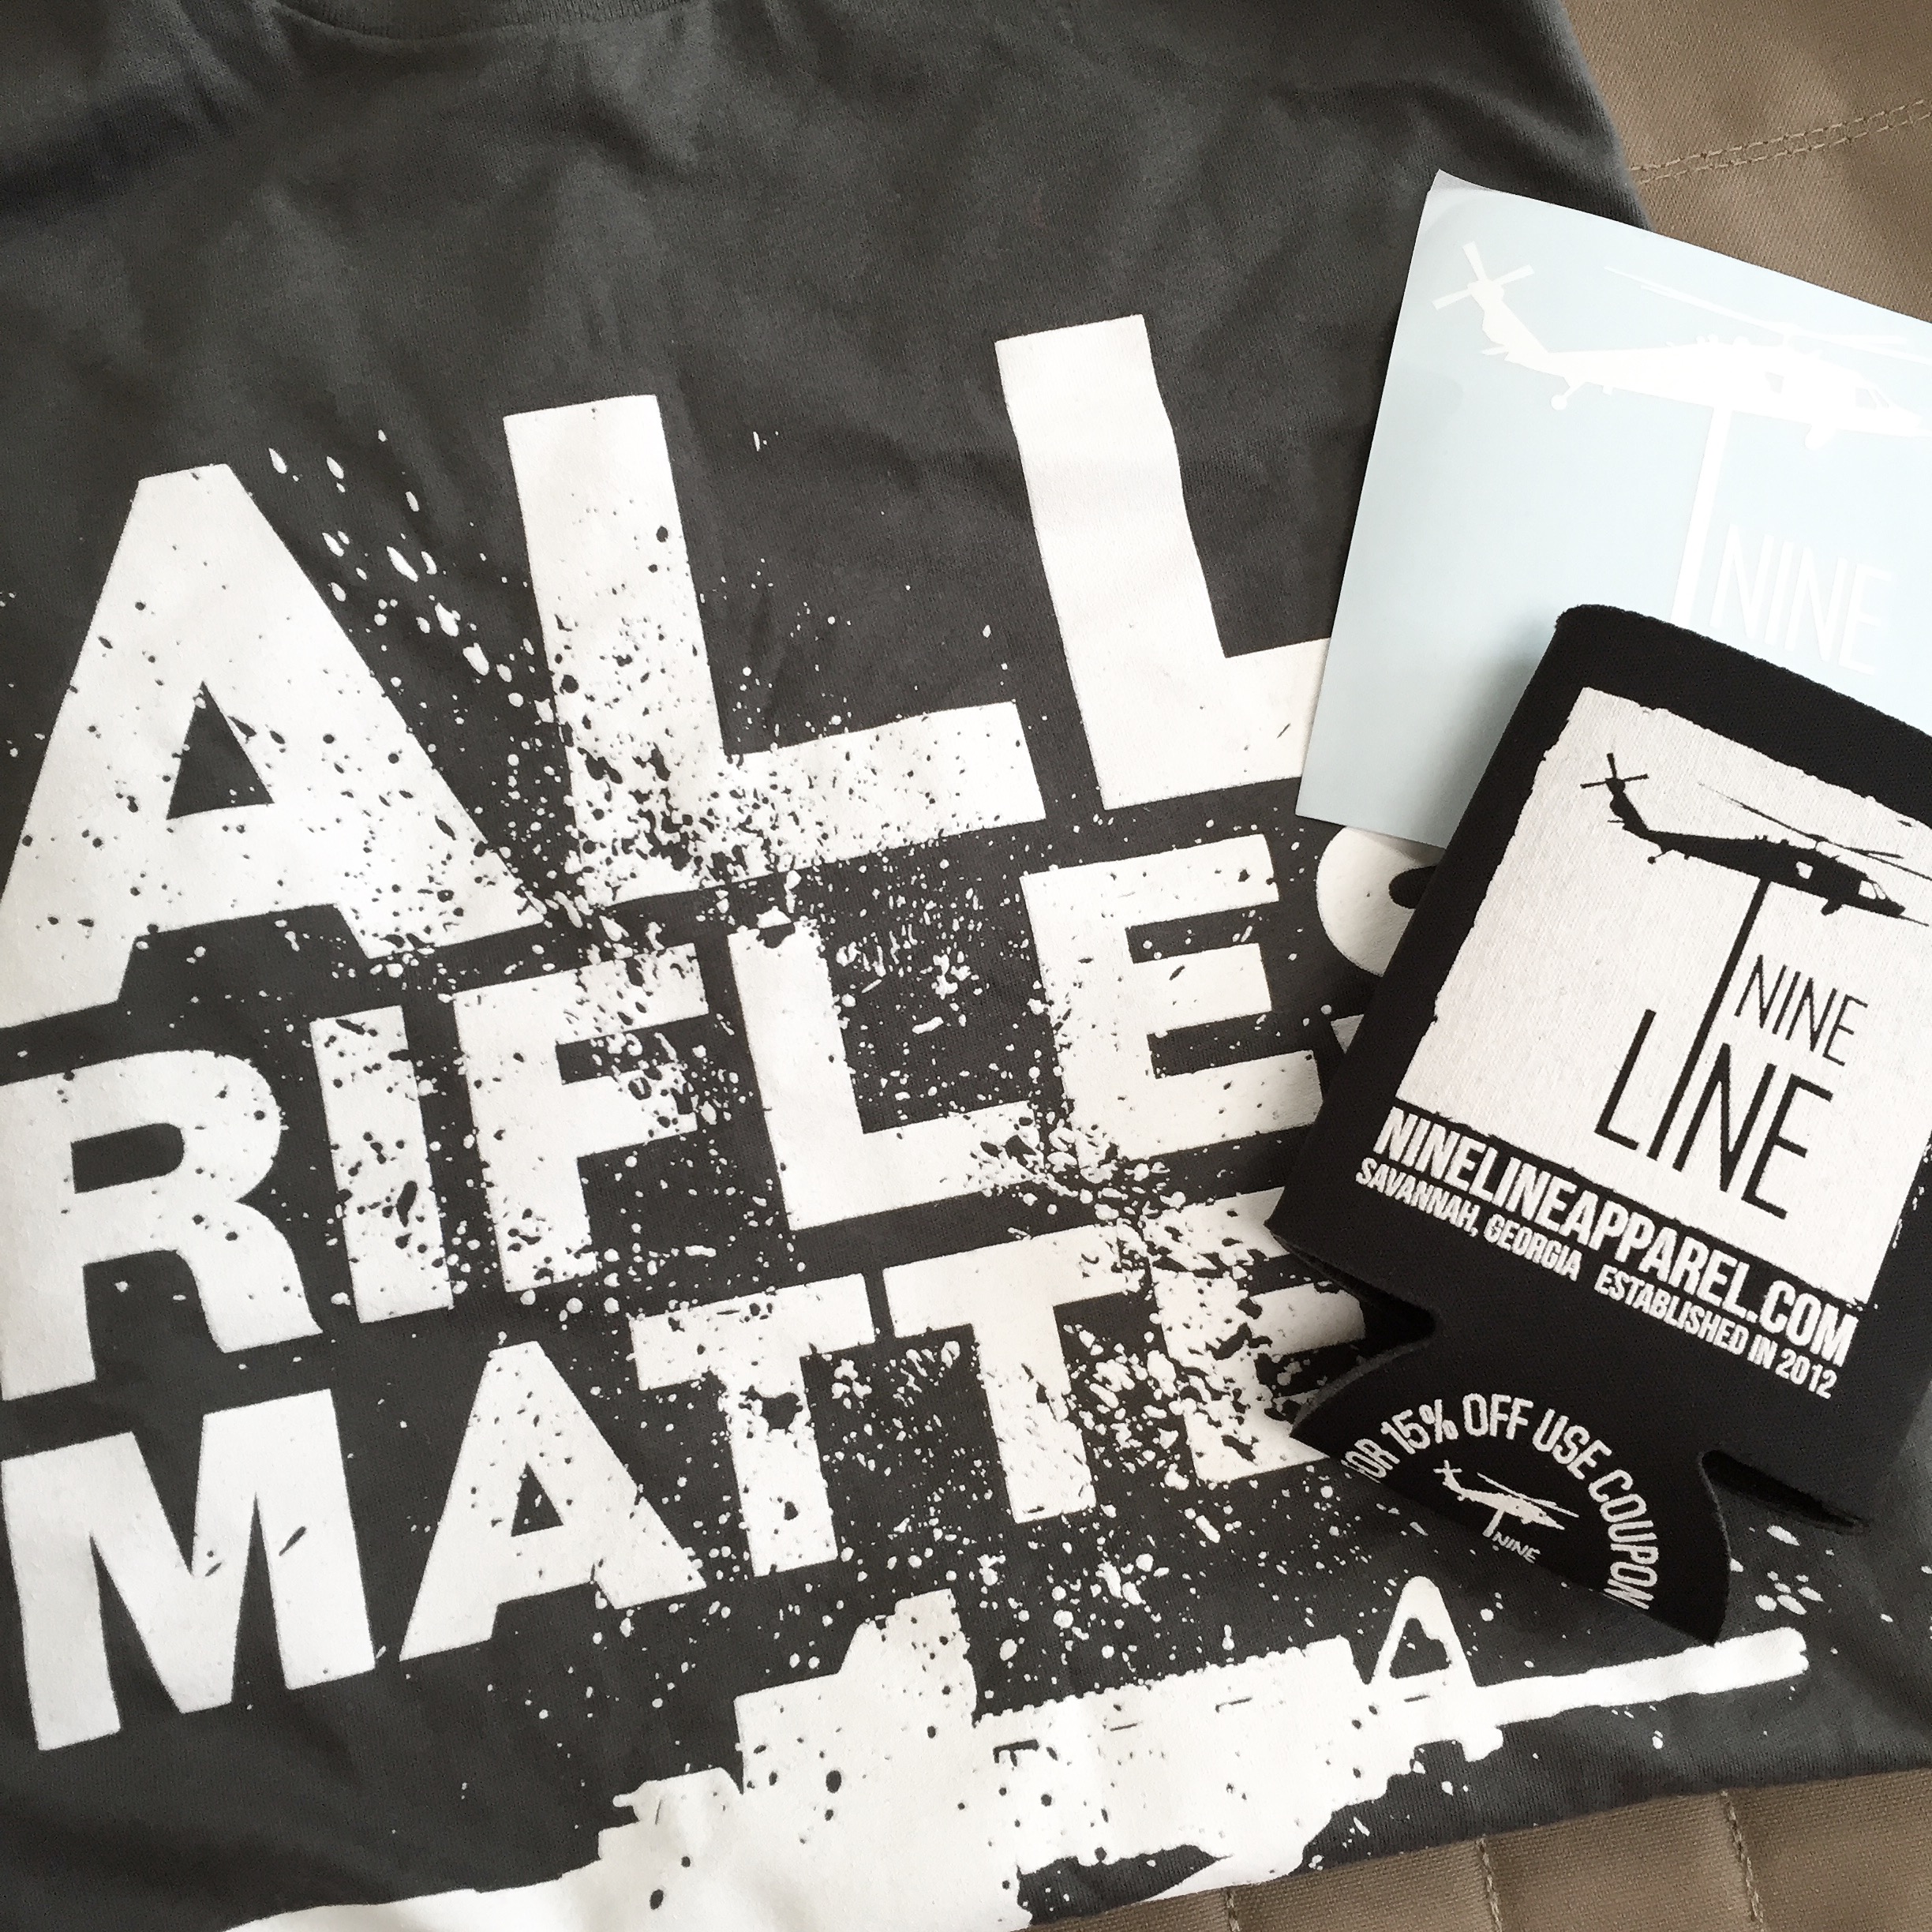
Nine Line Apparel Swag Pack – Nine Line Apparel is represented in a big way in this month’s box. They included a sticker, a koozie, and a t-shirt. I have a tool chest so I can use the sticker. I like cold beverages that come in cans so I can definitely use the koozie. I also [usually] wear clothing so I will get a lot of mileage out of the All Rifles Matter shirt. I always pleased when these boxes include a shirt.
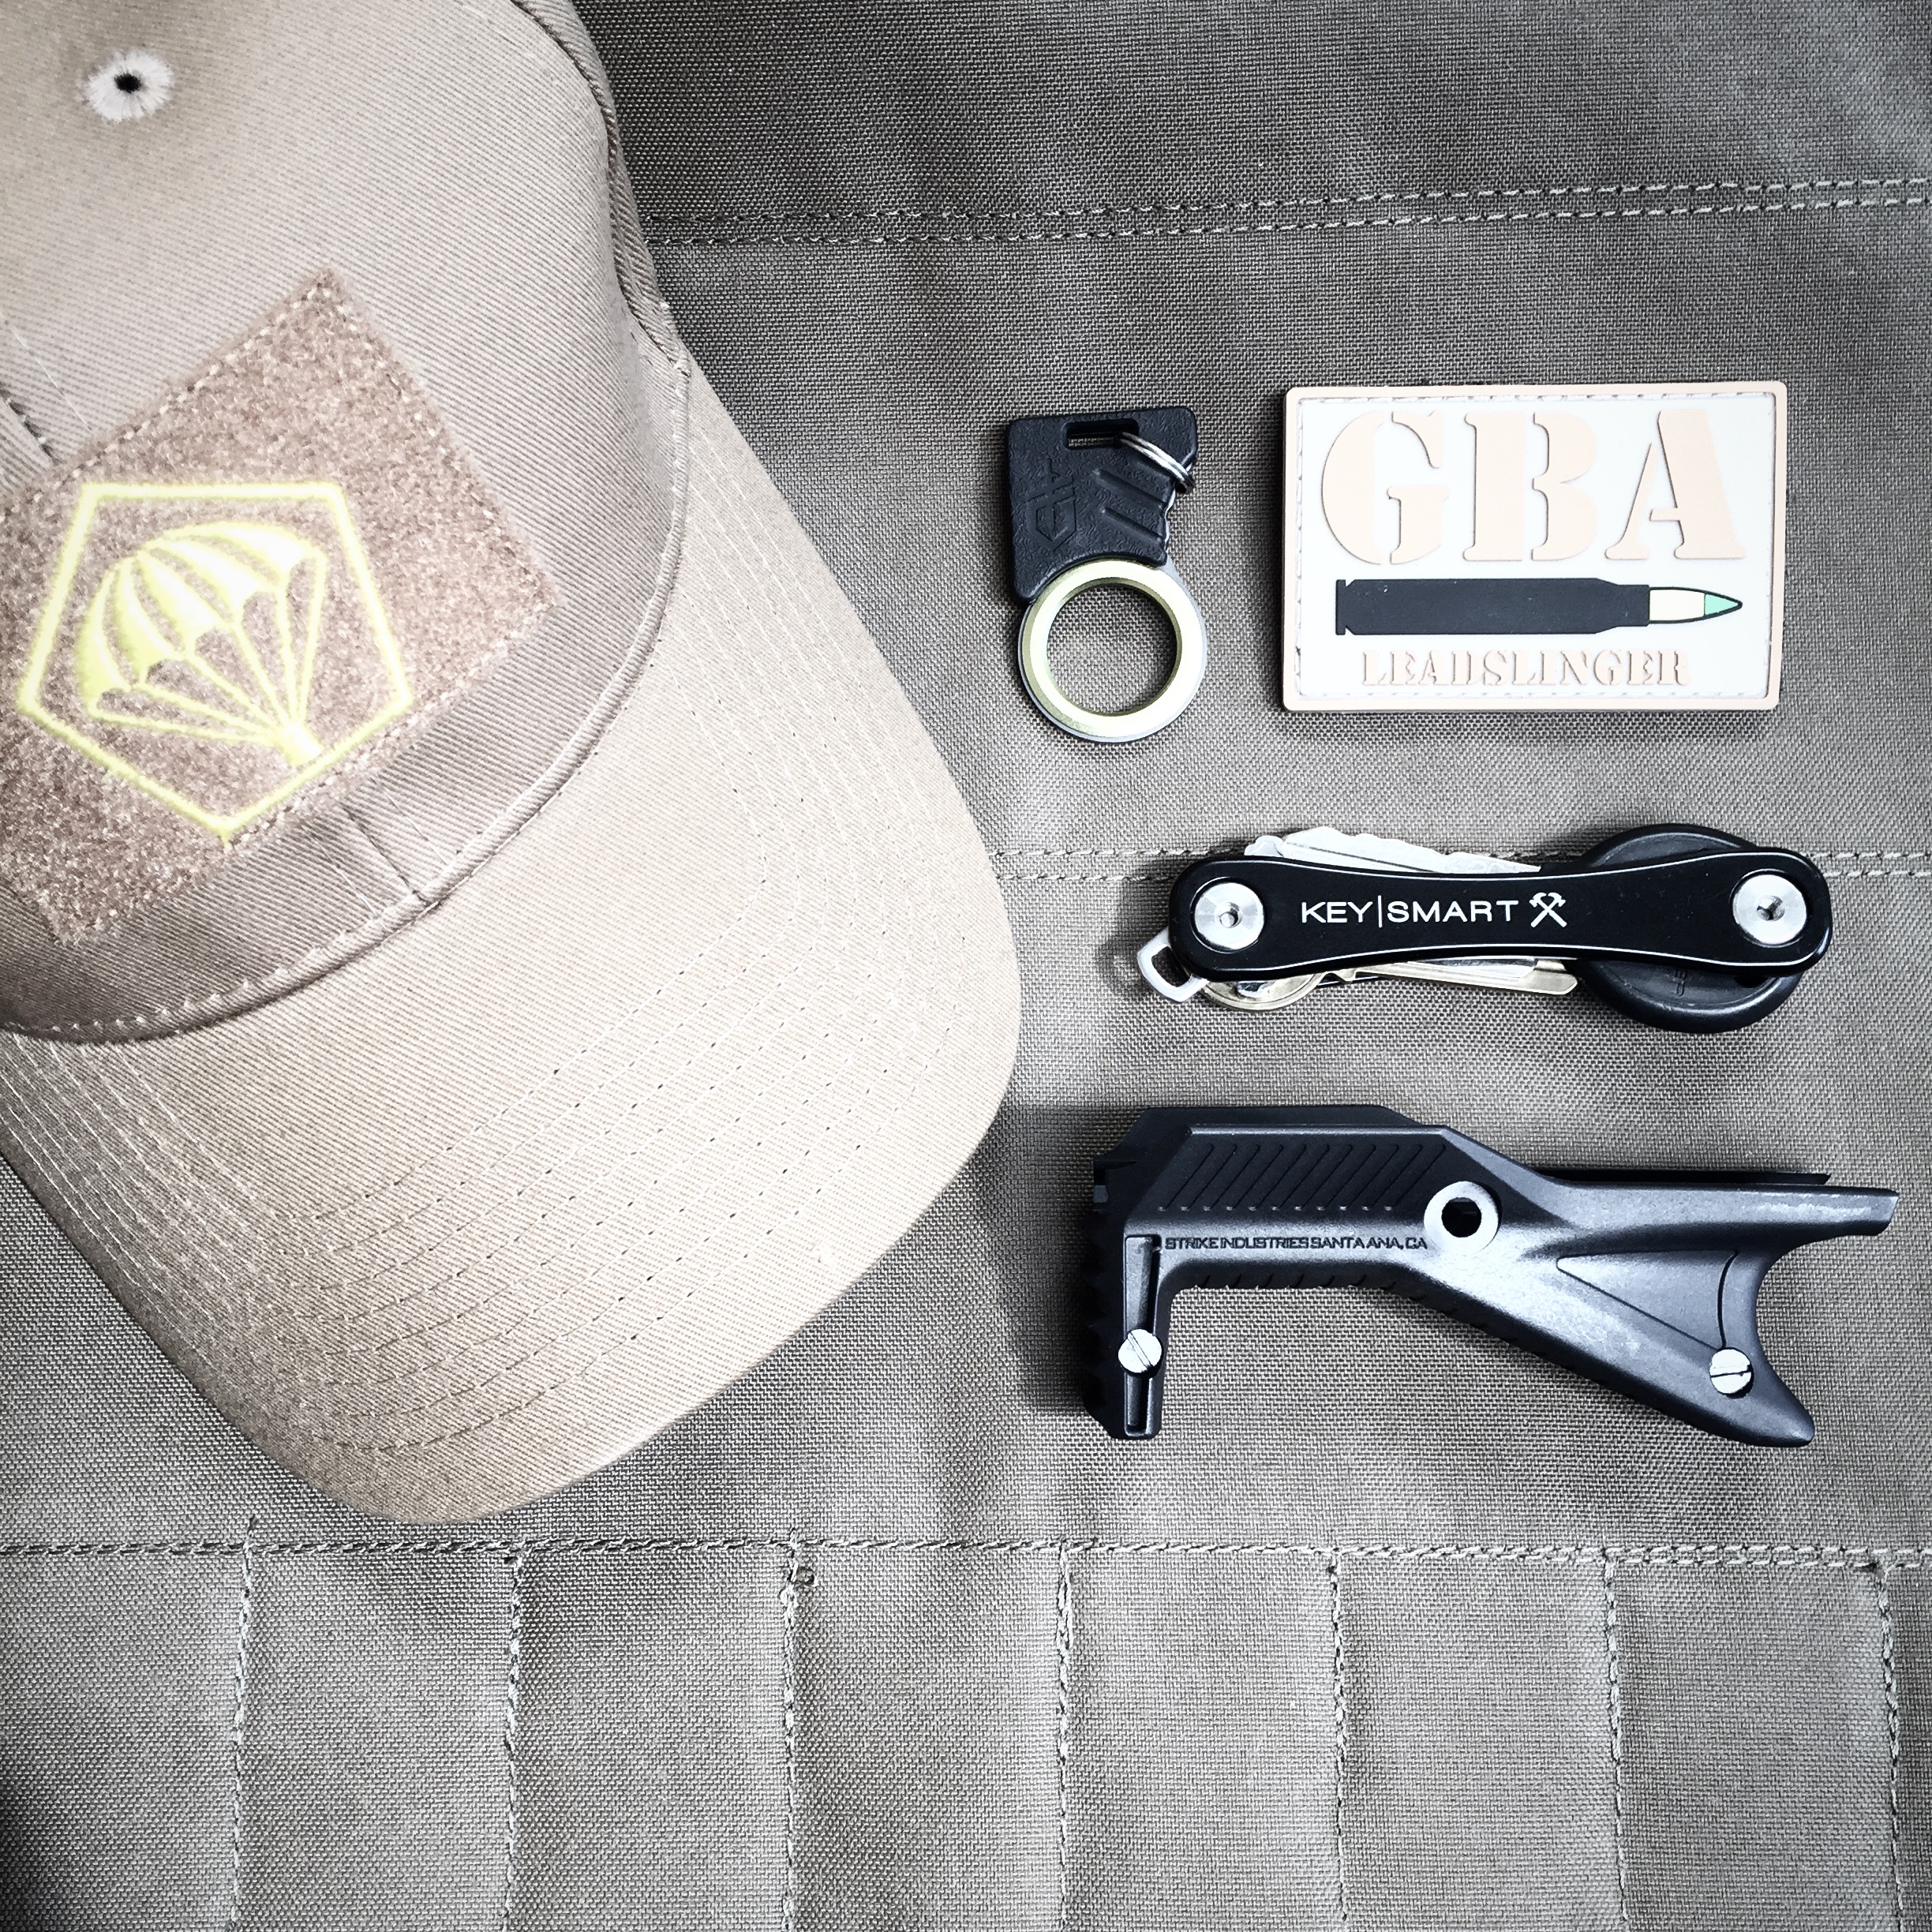
Bellflower AK47 – This is an aluminum bottle opener that is shaped like an AK-47 and can be attached to your keys. It’s anodized in a gold color so you can feel like an oil baron or sultan while you are opening bottles. Even if you don’t put it on your keychain, you need a bottle opener for every drawer in your kitchen because they tend to disappear over time and no one wants to try to remember which drawer the bottle opener is in.

ReadyMan Survival Card – ReadyMan makes a variety of these cards. The one included in this box has a variety of fish hooks, frog spears, and other useful survival goodies packed into one easy-to-carry credit card form. I have a few of these tucked into various kits.
Wild HedgeHog Tactical – Wild HedgeHog Tactical really came through in this box. There is a coupon for 20% off at their site and one of their Ouch Pouches which is a compact, water-resistant first aid kit. You can never have too many first aid kits. This is the type of useful item that I really like finding in my TacPack.
Armaspec ST-45 Ambi Selector – This is a solid inclusion for both value and usefulness. If you are reading JTT, you almost certainly own an AR-15 in which you can use a short throw selector.
Check out TacPack to get in line for the October box which TacPack is touting as possibly their best yet.