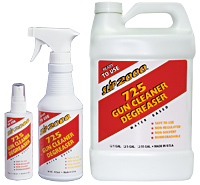
I have been using Slip 2000 725 Gun Cleaner Degreaser for years now. I originally received a small bottle of it in a swag bag from a carbine course. I used that small 4 ounce pump bottle, bought another 4 ounce bottle, and then bought the 16 ounce bottle which has been enough to get me through the last two years. I will buy the gallon jug next.
So why do I keep using it? Well, there are a lot of reasons.
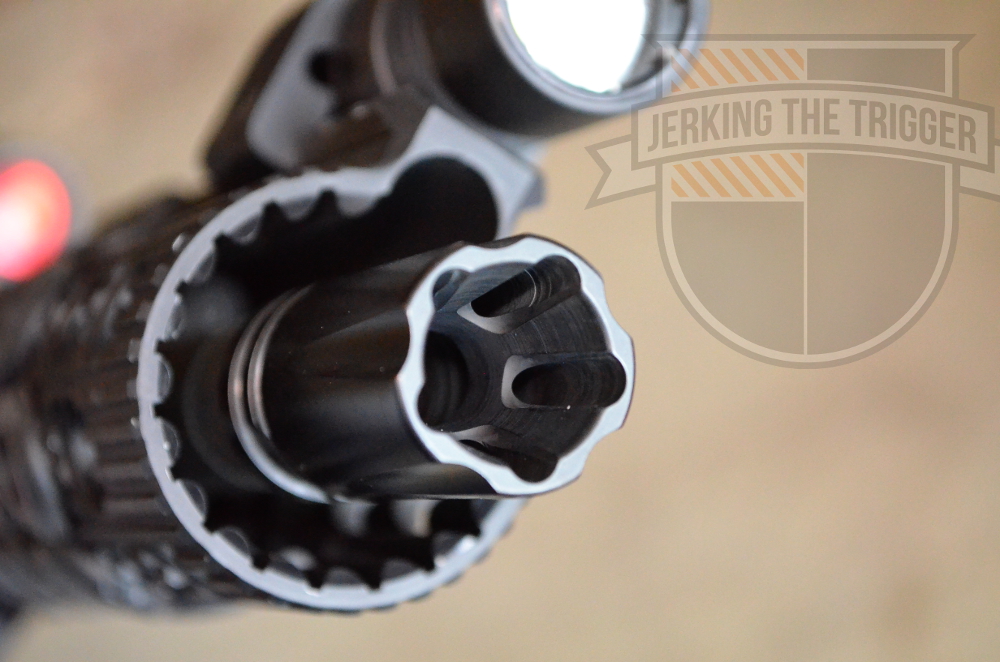
 725 works and I guess that is the most important reason I use it. It cleans guns well – better than just a CLP type oil. It cuts carbon well, it strips gun oil well, it works well to prevent rust from corrosive ammo, and it washes away cleanly and easily. Don’t tell anyone but sometimes, I don’t even wash it off. I just dry it with a rag and reapply oil.
I also like that a little bit goes a long way and Slip 2000 provides good quality sprayers with it. You really only need to wet the surface of whatever you are cleaning, let it sit for a few seconds (or longer), and then follow up with a brush, a rag, or a rinse. Both the pump bottles and the larger trigger bottles provide a consistent, penetrating spray. I have yet to have a spray bottle fail which I can’t say for other products.
This stuff is good for more than just guns! I used it frequently on my bikes to remove grime. It is magic for taking old grease off bike chains, chain rings, and cassettes. I just spray it on, brush with a nylon brush, and rinse. If I am in a hurry, I can just spray it on, wipe with a rag, apply new oil, and ride. I’ve also used it on ATV parts, car parts, knives, and more. It is just a good general purpose degreaser.
725 is water-based, bio-degradable, and has very little smell unlike many degreasers. It doesn’t irritate my skin while I am working with it. Basically, I like that it doesn’t feel like I am taking a few years off my life when I use it.
Wrap Up
This is probably the least sexy product review I have ever published on this site but Slip 2000’s 725 Gun Cleaner Degreaser just works. It’s the kind of thing I like having in my workshop for use on more than just guns.