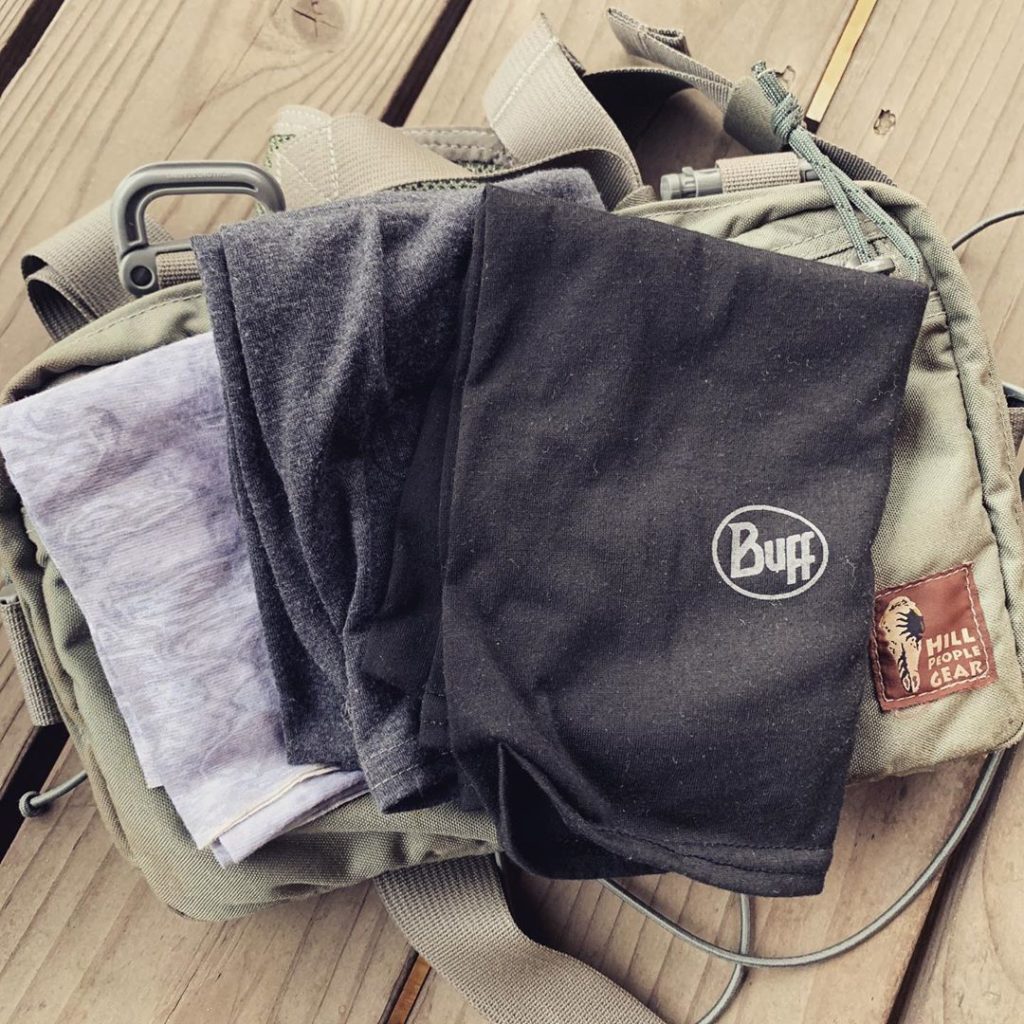
I consider a lightweight folding saw to be baseline gear. In my area of the world, we can see overnight temps in the low 50s Fahrenheit in the summer and with temps dipping even lower in the mountains. Those kinds of conditions are a recipe for disaster for the unprepared. A good saw and a sturdy fixed blade knife will go a long way toward making tasks like emergency fire prep and shelter building easier.
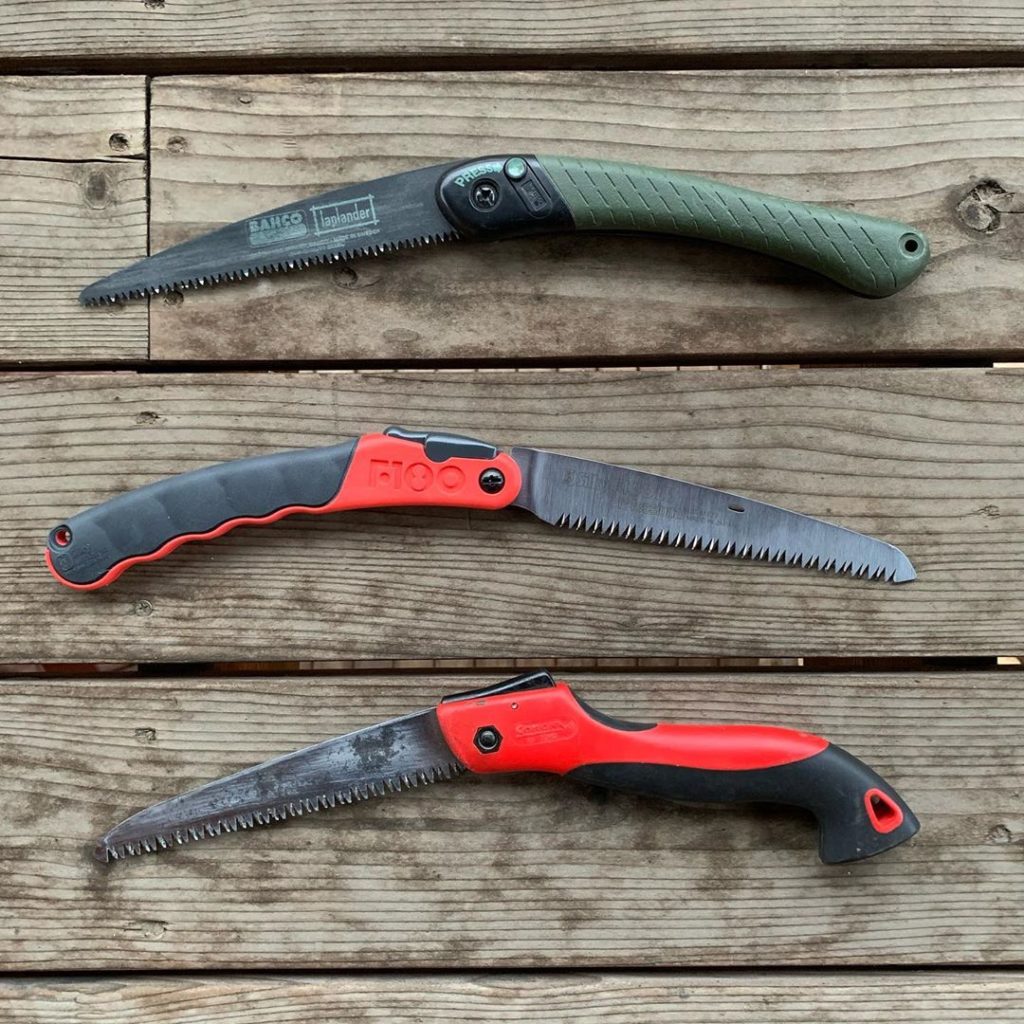
There are a lot of saws on the market but I have zeroed in on what I consider the 3 main contenders: the Bahco Laplander, Corona RazorTOOTH 7″, and the Silky F180. All three of these saws have a lot in common like a price tag around $20, similar weights and sizes, and a solid track record.
Which one is best for you? I’m not sure there is an easy answer to that as I can’t even really decide myself but I aim to lay out some information that might make your choice easier.
Comparison Table
| F180 | Laplander | RazorTOOTH | |
| Locks Closed | No | Yes | Yes |
| Locks Open | Yes (2 positions) | Yes | Yes |
| Blade Length | 7″ | 7.5″ | 7″ |
| Length Closed | 8.75″ | 8.75″ | 8.75″ |
| Cutting Stroke | Pull | Push and pull | Pull |
| Price | $21.25 | $21.50 | $17.39 |
| Handle | Plastic w/ Rubber Accent | Plastic w/ Rubber Accent | Plastic w/ Rubber Accent |
| Metal Reinforced | Pivot area | Minimal | Pivot Area |
| Teeth Per Inch | 6.5 | 7 | 6 |
| Weight | 6.3 oz | 6.6 oz | 6.8 oz |
| Steel | SK4 w/ Chrome | “Swedish” w/ Coating | SK5 w/ Chrome |
| Made in | Japan | Sweden | Mexico |
Cutting Performance
If you are going to major on cutting performance, the Silky F180 is the winner with the Corona RazorTOOTH as a close second. The Laplander is a distant third place. While the Laplander does cut on the push and pull stroke, it’s smaller 7 TPI cutters seem to clog more quickly and just do not cut as fast as the other saws. However, the Laplander is no slouch especially if you don’t have context for what a good hand saw can do.
The following image shows three cutting strokes from each saw. The kerf on the left is 1 pull stroke, 1 push stroke, and 1 pull stroke from the Bahco. It is the shallowest cut. The bark tear out makes the kerf look deeper than it is – pay attention to the square bottom of the kerf. The center kerf is 3 pull strokes from the Corona. It is the second deepest cut. The kerf on the right is the Silky. It likely could have been through the branch in 4 more strokes. It clearly outclasses the other saws.

Comfort and Ergonomics
The winner is not as clear here but the Silky F180 is clearly the loser. The F180 has wide finger grooves that won’t really fit anyone. It gets some points for the two-position lock that allows you to lock the blade in a position that is more appropriate for cutting on the ground but it still isn’t the best in hand. It isn’t uncomfortable to use but it isn’t as comfortable as the others.
The Bahco has a very neutral handle that is grippy and feels good in several positions. The Corona is probably the nicest to use over a long period of time thanks to the more vertical hand position provided by the pistol grip shape. I’ll give the win to the Corona.
Durability
This is going to be a fly in the ointment for some, especially the rabid Silky fanboys. In spite of the fact that the Laplander has very little metal reinforcement in the handle, it has a reputation as the most durable and I am inclined to agree. Bahco has clearly favored flexibility over hardness in the heat treatment of their steel. You would have to be the sloppiest saw user on the planet to break one of these blades as they can typically be bent to 90 degrees or more without snapping.
The Silk7 F180, on the other hand, seems to go all-in on cutting performance. The blade is hard and they have a reputation for snapping when misused. I’ve snapped one before and I know many others who have as well. There is a technique to using a pull cut saw. Avoid putting to much pressure on the saw during the push stroke, especially if you are cutting a round large enough that the tip is buried in the diameter of said round. The chrome-plated blade adds points here as these saws tend to be extremely rust-resistant.
The Corona RazorTOOTH seems to split the difference on blade durability but there have been some reports of the handle being a little more brittle. The chrome-plated blade does ad some points here but Corona’s blade are not as rust-resistant as Silky’s in my experience.
Price and Availability
The Corona wins on both price and availability. You can often find these in home improvement or farm supply stores so there is a good chance you can pick one up locally. It is usually going to be the most affordable of all three options.
If you have an arborist supply store near you, there is a chance you could find Silky saws in stock but expect to pay a premium in shops like this. I’ve never seen the Bahco Laplander in a brick and mortar store.
Overall Impression of Quality
The Silky wins here. The plastic used in the handle feels solid. The rubber over-mold is clearly the best quality. The finishing on the blade is notably better. It doesn’t flex, bind on opening/closing, or creak like the others.
The Bahco and Corona are both well-made, premium saws that are definitely in a class above big box store saws. They just don’t show the same attention to detail shown by Silky saws.
How to Choose
If you need the most efficient cutter and you can be somewhat careful with your tools, the Silky F180 is the top choice. If you need the most durable saw because you are going to throw it an emergency kit and forget about it, you are probably looking at the Bahco Laplander. If you want a saw that seems to do everything well, the Corona RazorTOOTH seems to split the difference nicely.
If you stop me on the trail, you will likely find the Corona or Silky in my pack. However, if it is really cold, you are more likely to find a larger bow saw.
Where to Buy
I have purchased all of these saws on Amazon except the Corona which I purchased at a local farm store (Amazon would have been cheaper). You might consider watching the prices on Amazon before you buy as the Silky, for instance, has been as low as $15 recently. The following URLs are all affiliate links that support JTT.
Note from the future: As of May 26, 2024 the Silky and Bahco saws have seen significant price increases. The Corona saw is the only one left at a roughly $20 price point.