I’ve professed my appreciation of the Kenai Chest Holster from GunfightersINC on these pages before. It is a handy holster to have if you spend time in places with large, sharp toothed critters wearing gear like a backpack or hip waders that hinder traditional carry methods. It is, in my opinion, the most modern and best iteration of a classic guide holster… Then GunfightersINC went and changed it!
Lucky for us, they made it better.

Better Holsters Through Better Manufacturing
To understand the improvements in this holster, you have to understand a little bit about how kydex holsters are made. The kydex is heated until it becomes pliable, then it is pressed over a form of some kind and allowed to cool. The kydex (or similar material) then hardens as it cools, retaining the imprint of the form. That is the basic overview but the exact ways all those steps are accomplished has changed over the years.
On the original Kenai, the two holster halves where molded over the form with blocking in place for things like slide stop levers, extended barrels, or anything else that either needed to be accommodated or that would foul the draw stroke. The holster was molded in two halves, roughly equal in depth, and joined together to make an entire holster. At some point, the part of the holster that received the shoulder strap would be reheated (this sometimes shows as a shiny spot on the kydex) to be slightly reshaped to receive the strap. The holster body was finished by polishing edges, adjusting fit, etc. GunfightersINC turned out great holsters using these methods.
GunfightersINC is now improving their processes from top to bottom. They are now machining their own custom molds and using vacuum forming to create their holster bodies. All of the improvements to their holsters have been made possible by these changes and the design flexibility, control, and definition that they make possible.
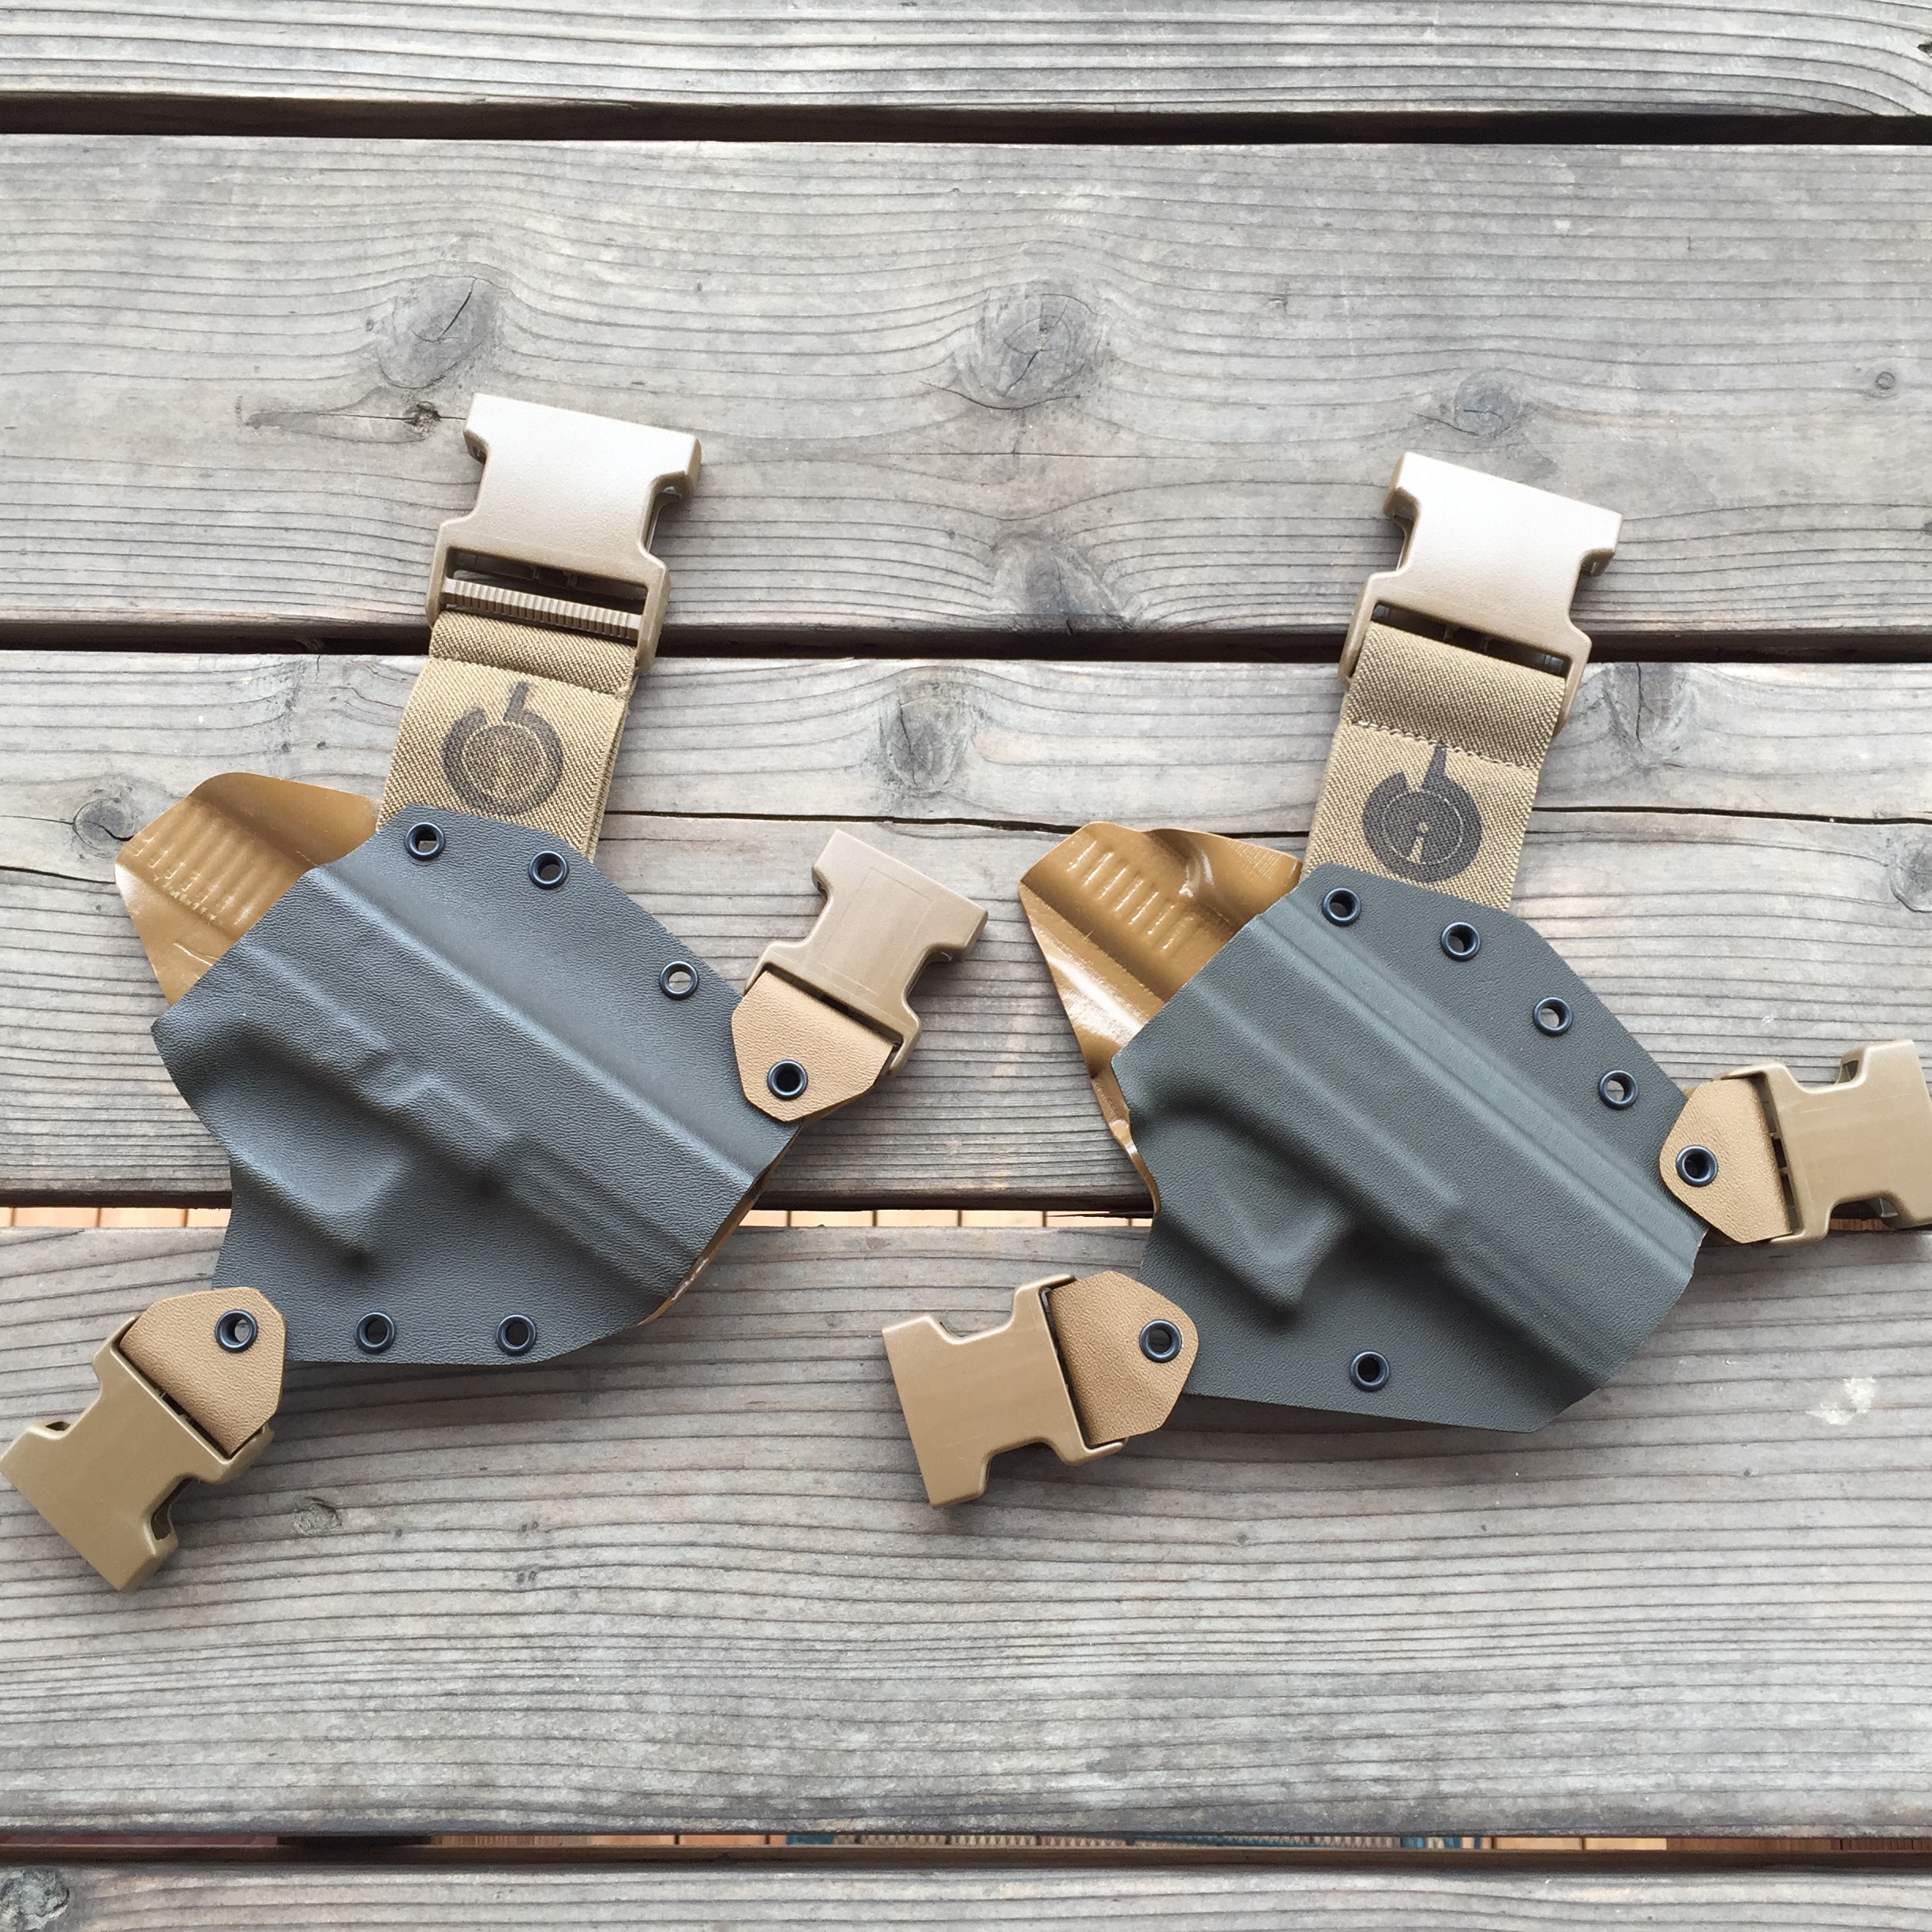
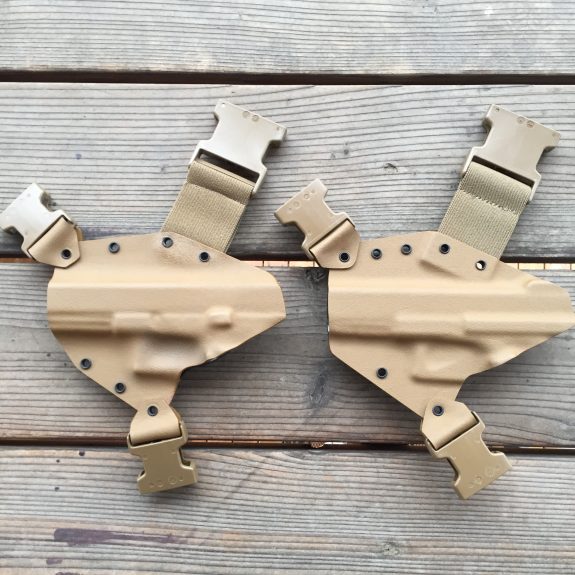
Original on left, Gen 2 on right
Kenai Chest Holster Gen 2 Improvements
The first thing you will notice when you look at both holster bodies is that the Gen 2 version has much better definition – the lines are more crisp. That translates to a cleaner looking holster and, more importantly, it also translates to improved retention, a smoother draw stroke, and a more distinct click-in/click-out. This kind of definition is really only possible with modern vacuum forming.
When you dive a little deeper, you see improved blocking and molding. My Gen 2 holster body is molded for a Glock 17 so you see things like a channel that allows the slide stop to run all the way out of the holster without touching anything, the slide lock area is no longer molded creating a potential unwanted drag on the draw stroke, the magazine release is partially shielded to prevent accidental release, and the retention pad in the trigger guard is large and made to a consistent depth.
If you dive deeper still, you’ll notice GunfightersINC taking full advantage of their new manufacturing processes to really get the most out of the Kenai Chest Holster. The accommodation of the shoulder strap is actually molded into the back plate of the holster. This saves a manufacturing step and creates a stronger, cleaner holster overall. Finally, the two halves of the Kenai area actually molded to different depths with the majority of the pistol being molded into the front panel of the holster. This allows the Kenai to lay flatter, closer, and more comfortably against the wearer.
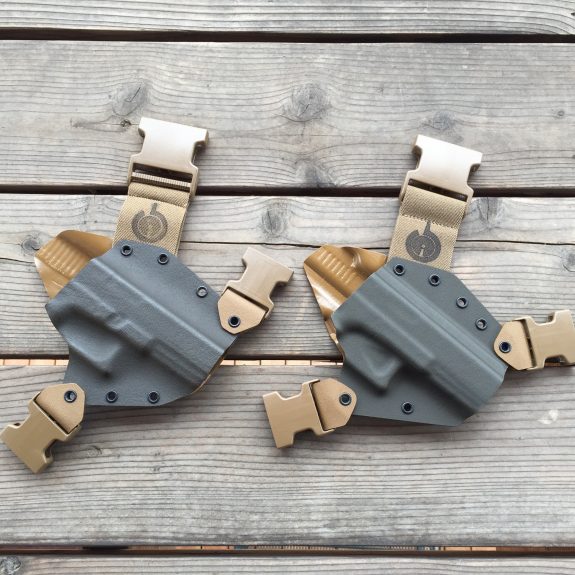
Original on left, Gen 2 on right
Wrap Up
GunfightersINC didn’t just redesign a holster, they redesigned how they make the holster. The result is more control over the end product, easier accommodation of various options, and, most importantly, better holsters for the customer. You can expect to see these manufacturing improvements touching all the holster in the GunfightersINC line up.
See our review of the original Kenai Chest Holster for more information on its background and use. Check out GunfightersINC to learn more about the Kenai Chest Holster or purchase your own.