When you think LMT, you probably don’t think back up iron sights… That might change by the end of this review. I have been spending some quality time with a set of AR-15 back up sights with a very straight forward name – the LMT Defense Flip Up Sights. At first glance, you might see some influence from other sights on the market but when you drill down a bit you see some unique features that make these worthy of your consideration.

Overview
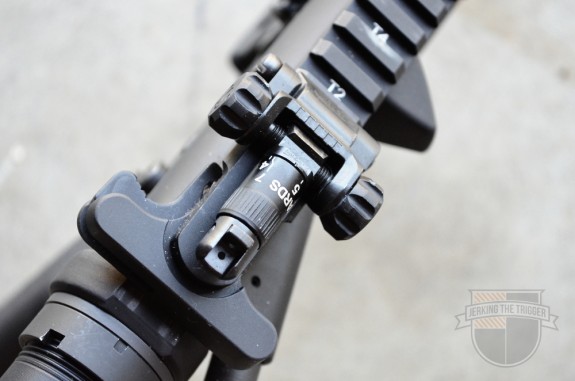
This review will cover the L8BUI556 sight set which consists of the L8N 5.56 Flip Up Rear Sight and the L8K Flip Up Front Sight. They can be purchased separately or as a set.
Both the front and rear sights feature steel construction with a black phosphate finish. They weigh in at 4.4 ounces for the set. The sights do not lock in the up or down position. They have a strong and positive detent that keeps them upright until you decide to fold them (or down until you need to deploy them). Both sights mount via a large cross bolt that can be turned with a flat head screwdriver or an improvised facsimile.
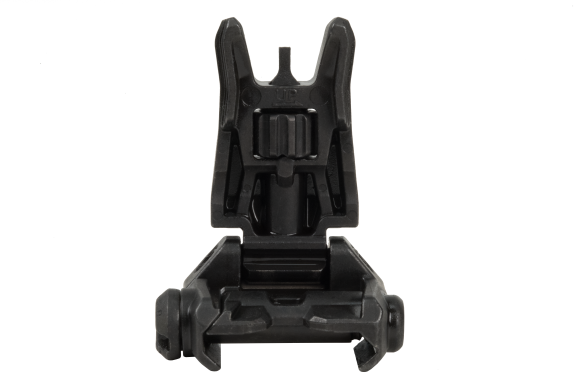
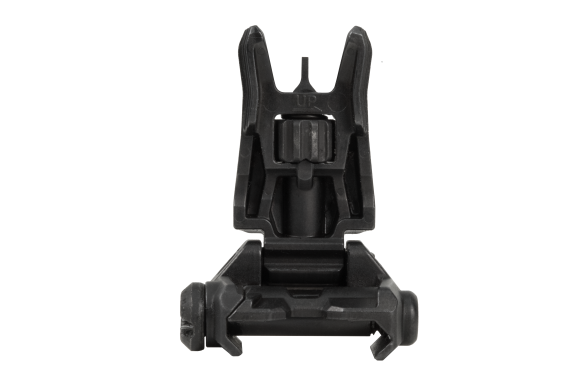
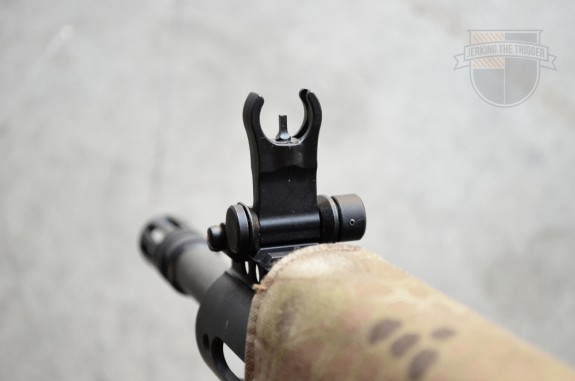
The front sight features large ring shaped protective ears. LMT managed to cram a standard AR-15 front sight post into the relatively compact design.
The rear sight has a BDC cylinder that is marked in increments of 100 yards out to 700 yards. Elevation adjustments are made at the front sight as normal but bullet drop can be compensated by twisting the cylinder in the desire direction. Each click of the BDC cylinder is a 1/2 MOA elevation adjustment. The windage adjustment is accomplished via knobs on either side of the sight and offers 1/4 MOA increments.
The rear sight features two, same-plane apertures which can be easily selected by the shooter. The sight can be folded with either aperture in the deployed position. The smaller one measures .0625″ in diameter and the larger measures .125″ in diameter.
Observations from Use
These sights are easy to install and zero. They have a Z (zero) setting on the BDC cylinder which I did not use. I just set the cylinder to the 200 yard mark, zeroed at 50, and then confirmed that I was zeroed at 100 yards on the 100 yard setting. I generally just keep the BDC cylinder set at 200 yards for everything from arms length to 200 yards just for consistency sake with my other ARs that have 50/200 yard zeros.
The dual windage knobs on the rear sight made zeroing just a little bit easier. While zeroing, I was laying in the prone position with the muzzle resting on a backpack. The left side knob allowed me to reach back with my support hand to make adjustments. If you are unsupported, you can still use your strong hand like you would on most sights. I suspect that my southpaw friends will appreciate the ambidextrous knobs as well. I do wish they were smaller to avoid getting knocked off zero. I didn’t have a problem but smaller knobs might keep Murphy at bay, especially since these knobs are basically used to zero and then never touched again.
The BDC cylinder is easy to read and easy to use. It is plainly marked from 100 to 700 yards. The cylinder bottoms out on the 100 yard mark which serves as a sort of zero-stop. One full rotation puts you on the 600 yard mark with the 700 yard mark coming about a half turn after that. This means that the 700 yard mark is located between the 400 and 500 yard marks on the cylinder and the shooter needs to give a full rotation before settling on the 700 yard mark (not that these sights will be used often at 700 yards on an AR-15 carbine). There are 10 additional clicks after the 700 yard mark before the BDC cylinder hits a hard stop which is nice because it makes it hard to get lost when you are dialing distance.

The apertures on the rear sight have it going on. They are same-plane which is a big plus in my book. You can keep either aperture in the ready position and still fold the sight normally. The smaller aperture is fairly standard in size and provides very fine aiming. The larger aperture is actually smaller than most rear sights. It is large enough to provide some additional light and speed but still small enough to be used as slightly extended distances. I suspect that it’s smaller size is dictated by the form factor of the sight but it works.
I am glad to see that these sights use only a detent to stay in position rather than a positive lock. In my experience, this makes sights much better equipped to handle impact. Every rail mounted fixed sight or locking sight that I have drop tested will bend or break, often on the first drop. Typically, those that use only detent action to stay in place survive repeated drops because they can collapse on impact. That was the case with the LMT Flip Up Sights. I dropped them 3 times from waist height with no physical damage other than scratching.
The front sight has a lot going for it. I was thrilled to see that it uses a standard front sight post. That may seem like a small thing but it actually one of the features that really sets these sights apart. By shoehorning a standard front sight post into a relatively compact front sight LMT has given you a ton of options like tritium front sight posts, finer front sight posts, and the ability to use common front sight adjustment tools.
I would prefer to see the standard, outward curving front sight protection ears but that is just personal preference. I know that some people find the round ears to be faster since you basically look through the sight and place the entire round front sight assembly on your target to get a quick hit up close. However, I find that sometimes my eye wants to center the round protective ears rather than the front sight post during slow fire.
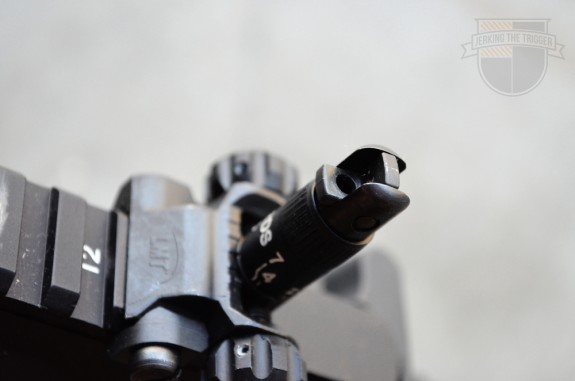
It is obvious that LMT took great care to remove sharp edges from these sights. Even the top of the rear sight apertures is blended into its dome shaped protective ears to make the whole structure as blunt as possible. The lack of sharp edges and break away action of the sights are all part of the original design requirements to create sights that were as safe as possible to the shooter.
These aren’t the smallest or lightest sights on the market but they should be pretty darn durable. Like I said, they came through 3 drops basically unscathed and the all-steel construction should make them plenty rugged.
Wrap Up
These LMT Defense Flip Up Sights may have a mundane name but they pack of lot of slick features. The windage knobs should be reduced in size and I would prefer outward curving protective ears on the front sight. The rear sight is very well designed with its same-plane apertures, ability to fold with either aperture in the ready position, and dual windage knobs. The use of a standard front sight post give the end user tons of options. These sights are definitely worth a look for your next build.
Check out the Flip Up Sights at LMT Defense.
Disclosure: These sights were provided to me for review, free of charge, by LMT Defense.

