You can spend a lot of money trying to accomplish the seemingly simple task of attaching your knife sheath to your belt in a way that is concealable and easy to access. Yet, in spite of all that money spent, you may not be able to match the comfort, concealability, flexibility, and reliable deployment of the lowly, dirt cheap, static cord.
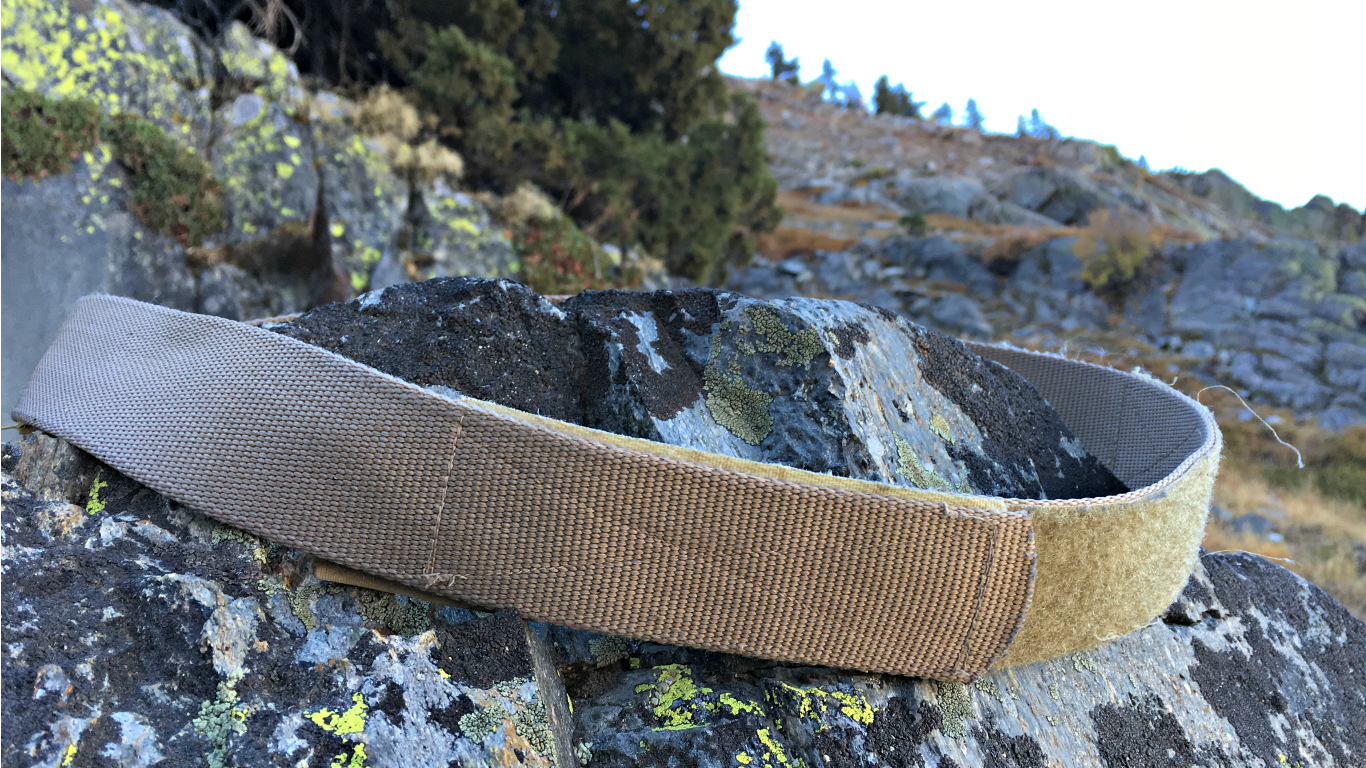
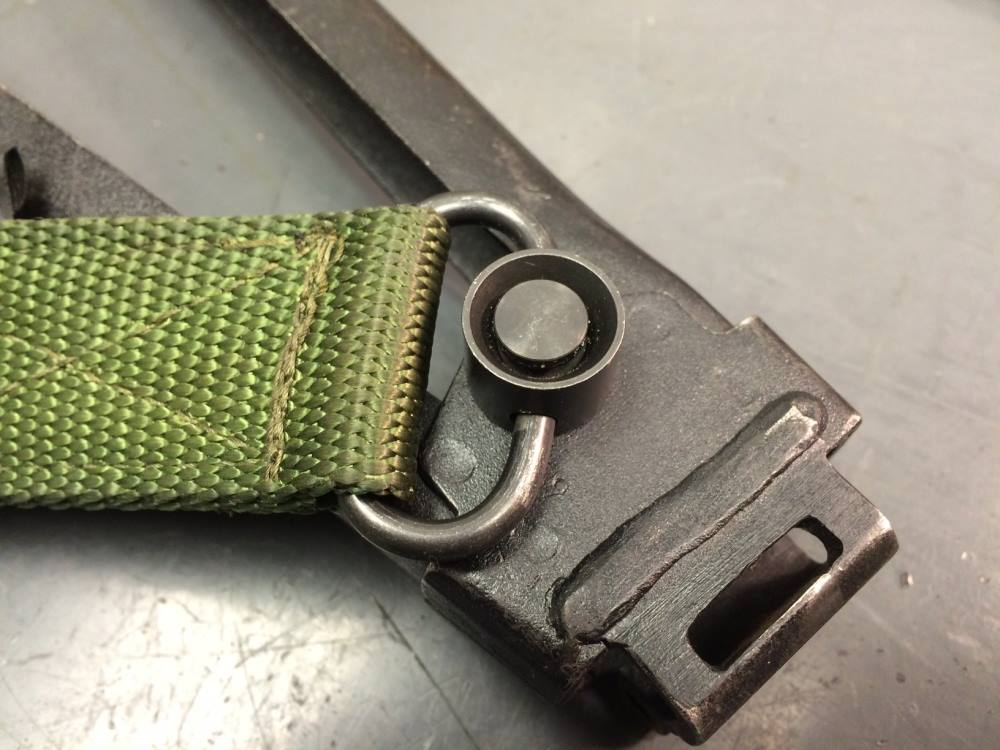
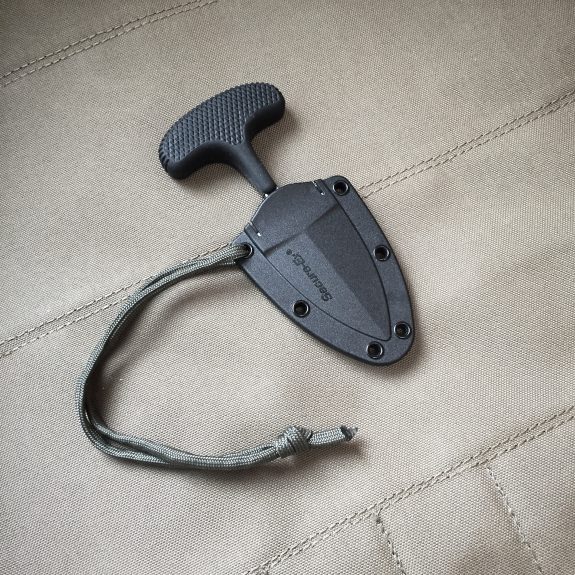
Static cords aren’t exactly a secret but they also aren’t really a product that can be sold because they are so easy to make. That means no one really talks about them. It is literally just a loop of some kind of cord that is fixed to your knife sheath. The concept is so simple and so dirt cheap that I think it leaves some people feeling skeptical that it can actually be good.
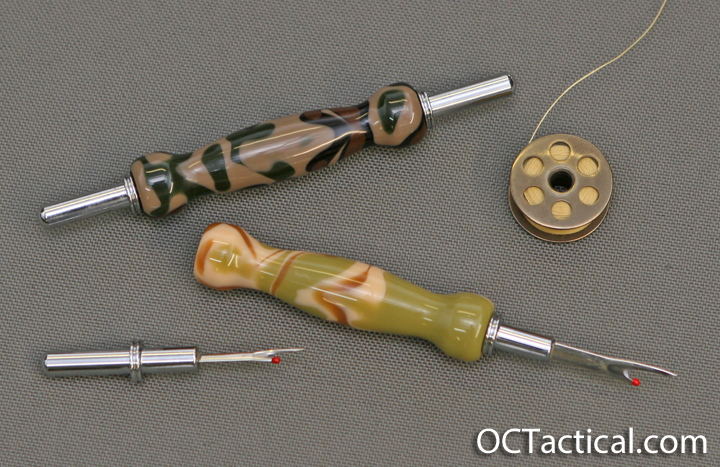
I am not sure I need to post instructions for how to make one. The pictures in this post should be pretty self explanatory but I will include some caveats (later in this post) that will help you be more successful in tailoring the cord to the knife you carry.
How it Works
The static line is simply a cord that is fixed to your knife sheath. It serves two purposes. First, it prevents the knife from falling down inside your pants while carrying. Second, it deploys the knife by limiting the travel of the sheath.
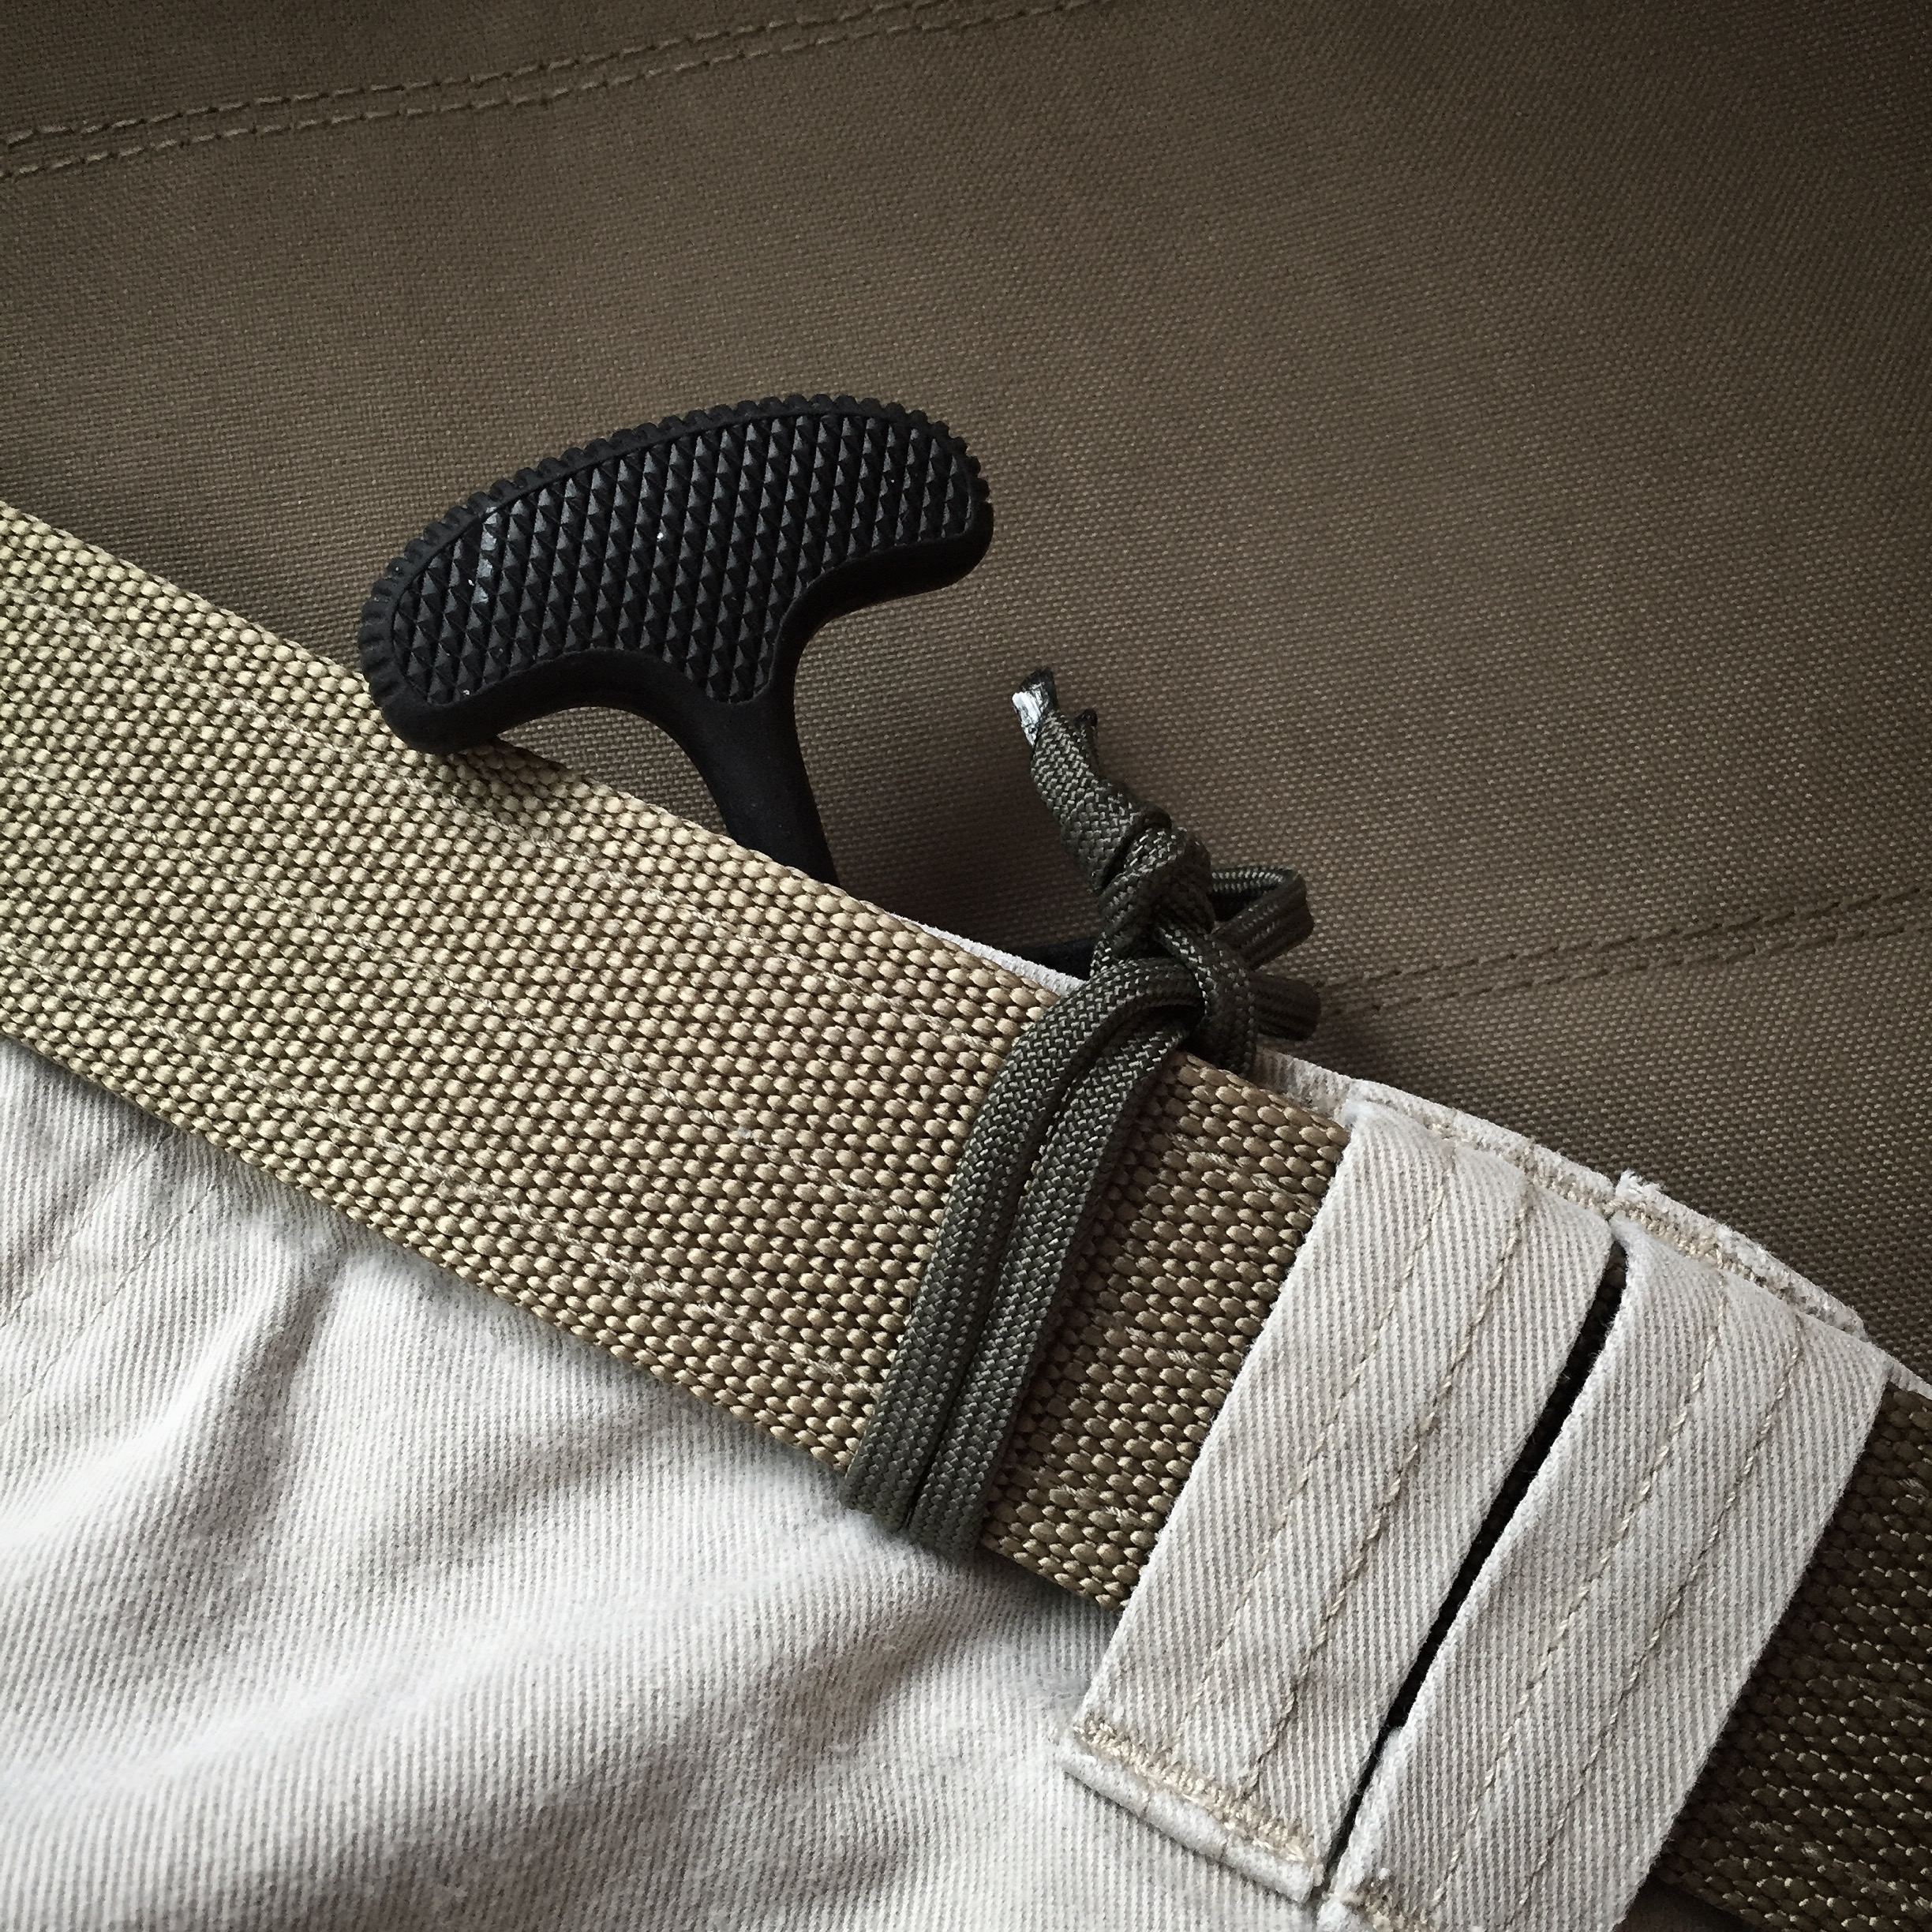
Once you have the static cord tied to your sheath, you simply loop it onto your belt. This can be accomplished without even removing your belt with a simple girth hitch. Now you tuck the sheath into your waist line like you would an IWB holster or sheath with the handle exposed and oriented the way you want it for easy deployment.
When you draw the knife, you simple grab the handle and pull away from your belt. The cord is attached your belt so that once the full length of the cord is reached, the sheath pops free of the knife. It works every time.
Why it’s Good
Static cords are dirt cheap – you probably already have everything you need to make one. They are also easy to make and reliable. Best of all, they are actually really functional. They really work.
If you are carrying a fixed blade knife inside your waist band, you are probably concerned about any additional bulk from both a concealment and comfort standpoint. Static cords can be as slim and bulk free as the cord that you choose. Gutted paracord works well and has little bulk. Just about any cord that you can fit through the eyelet on a knife sheath will be far less bulky than a steel or plastic clip of any kind.
If you are really concerned with concealment, you can even tuck in your shirt over a static corded knife and tuck the cord right up against a belt loop on your pants. It will pretty much disappear – especially if you have chosen a narrow cord that doesn’t contrast much with your belt.
A static cord lets you position the knife anywhere on your belt at almost any angle. I like to use it to place a knife near my center line so it can easily be accessed with either hand. I can easily and discreetly adjust the angle for comfort simply by pushing the knife around on my belt.
You’ll be surprised at how well the knife stays in place. It is normal to be a bit wary that the knife will fall down your pants but if you size the cord correctly, this can not happen.

Tips
Choose a cord without much stretch and that has a reasonably stout break strength. The cord will see some stress when you draw the knife quickly. If it stretches or is fragile, deployment may be compromised. You may also want to consider a cord that is close to the color of your belt for concealment purposes.
Experiment with the length of your cord. Smaller knives typically require shorter cords. The cord should be short enough to prevent the knife from following down your pants but long enough to allow as much of the knife as you want to slip below the waist line of your pants. Things like where you attach the cord to the sheath, the length of the knife, whether you loop or hitch the cord to your belt, the angle you carry the knife at, and other factors can effect the length of the cord. The only way to get it right is to experiment but it isn’t as difficult as it sounds. You’ll likely settle on an acceptable length on your first or second try. It is a very forgiving carry method.
You can add a little bit of grip tape or a scrap of bicycle inner tube (ranger band) to your sheath to help it stay put on your waist band though I never do. It usually stays put just fine with a reasonably tight belt which you are likely already used to from carrying a gun.
Knives with bent handles like the Ka-Bar TDI or push knives work well because they can positioned at an angle so the handle rests on top of the belt. They are easy to grab, never move, and are very low profile in this position.
If you can’t wear a belt for some reason, a static line my be hitched to a stout belt loop (hard to find these days), the eyelet for the button on your jeans, a button, or even a stout safety pin somewhere on your pants.
As with ANY form of inside the waistband knife carry, you should be sure your sheath has suitable retention. You don’t want the knife coming out of the sheath below your waist line.
Wrap Up
This carry method can be used in almost any style of dress, with almost any knife sheath with a place to tie a cord, and in almost any setting. It is secure, discreet, reliable, flexible, and dirt cheap. It works as well or better than just about any ready-made solution I have tried.