Archive | Other

Money Well Spent

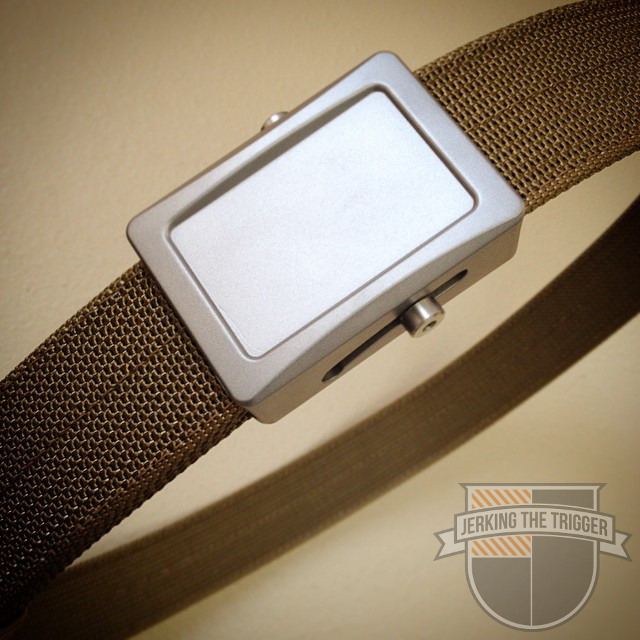
A friend of mine recently spent a little over $100 shipped on an Ares Gear Aegis Belt – a belt that I have been using for a while now and highly recommend. Another friend asked him how he could spend that much on a belt and his response was that he was tired being unhappy with a parade of $35 gun belts.

Ares Gear Aegis Belt JTT IG

I have had that same experience with a lot of things. I became tired of dealing with stoppages during training so I bought my first quality AR-15. I became tired of axes that wouldn’t take or hold an edge so I paid for better axes and learned to restore older, quality axes. I became tired red dot sights with battery life far shorter than advertised so I purchased Aimpoints (9 and counting). I can think of many similar examples.

It seems that finding gear that works isn’t all that different than skill building. You learn a lot from the failures and there usually aren’t any shortcuts.

I am not saying that good gear has to be expensive or that inexpensive gear can’t be good. I am saying that I have learned to buy the quality and features instead of buying the price point. This is why I rarely comment on price here on JTT. The value of a particular piece of gear is up to you and can’t necessarily be determined by what it costs.

Have you had similar experiences? I want to hear about them. Leave a comment below so we can all learn!

JTT’s New Logo and New Era

The time to unveil JTT’s new logo has arrived!

Trigger

This new logo represents a new look and a new era here at Jerking the Trigger. You may have noticed increased and more timely posting as of late. My work situation has changed to allow additional time and flexibility in my interactions with JTT. Those extra posts have brought with them extra traffic and extra growth. Given the shift in my approach to this site, it seemed fitting to update the look a bit.

Many thanks to Dstein Dzigns for the logo work and thank you to you, the reader, for making it fun to continue to write about all this gear!

Make Your Own Artsy-Fartsy Cutout Photos with Gunstruction

Gunstruction recently posted a very cool photo to their Facebook page of a near perfect “cutout” of a carbine. They claimed that they did it without photoshop, using nothing but native Gunstruction Photo Mode functionality. I took that as a challenge and had to figure out how to do it for myself.

gunstruction cutout

Lucky for you, I figured it out and I feel like sharing.

  1. Visit the Gunstruction website. I hate that I have to mention this step but if I don’t some goof will email me and ask how to get there.
  2. Configure your AR-15 the way you want it. I won’t hold your hand here. It’s your carbine. Have some fun with it.
  3. Click the Paint button on the main screen to enter the Paint menu.
  4. Click the Color button to paint the entire carbine single color.
  5. Choose “Duracoat White”.
  6. Click the Apply to All button. Paint it White
  7. Click the Back button to return to the main screen.
  8. Click the Photo button to enter the photo menu. You can fiddle with any of the settings that you like. I will only mention those that are responsible for creating the desired effect.Enter Photo Mode
  9. Click the Lights button to enter the lighting menu.
  10.  Set all three lights to true white by sliding the R, G, and B, sliders all the way to the right.
  11. Set all three lights to full intensity by sliding the Intensity sliders all the way to the right.Adjust the Light Sliders
  12. Click the Room button. This is where you will create the black background.
  13. Choose “None” from the drop down menu beneath the Room button.
  14. Move the R, G, and B sliders all the way to the left to create dark black background.Set the Backgroud Sliders
  15. Click the Filters button. You are almost done!
  16. Click on the drop down menu beneath the Filters button.
  17. Click the X in the Ambient Inclusion check box to de-select it.Set the Backgroud Sliders
  18. Snap cool cutout photos to your heats content.Start Snapping Photos

It looks like a lot of steps but it is very easy once you get the hang of it. Once you have the cutout image, it would be pretty easy to reverse the colors in photo editing software to create a silhouette. A smart guy like you could probably figure out all sorts of cool things to do with this type of image.


Odin Works Tactical Candle Holder

When you look at AR-15 free float rails, it is easy to notice all of the interesting patterns that manufacturers machine into them. Odin Works is putting all of those intricate patterns to good use by letting a candle shine through them.

TCH-01-5

Their Tactical Candle Holder is obviously inspired by their line of KeyMod free float rails. It features QD sling swivel sockets, KeyMod attachment points, and even a section of picatinny rail. It is designed to hold a tea light (included) but I think it would make a killer pen/pencil holder for your desk too.

Sure, it’s kind of silly but I would put one on my desk. Check out the Tactical Candle Holder at Odin Works.

Green Mountain Sheaths Tomahawk Cover

It boggles my mind how few tomahawks come with some sort of useable way to protect the user from the cutting edge while it is being transported. That seems like a massive oversight to me but at least it gives us the chance to pick up one of these beautiful tomahawk covers from Green Mountain Sheaths.

green mountain sheaths tomahawk cover

The one shown above is made for a CRKT Woods Chogan but they should be able to accommodate other models. The covers are hand sewn with #277 bonded nylon thread. They use 7 ounce leather for the body of the cover and 10 ounce leather for the welt so it is as durable as it is beautiful.

Get in touch with Green Mountain Sheaths via their Facebook Page.

Powered by WordPress. Designed by Woo Themes