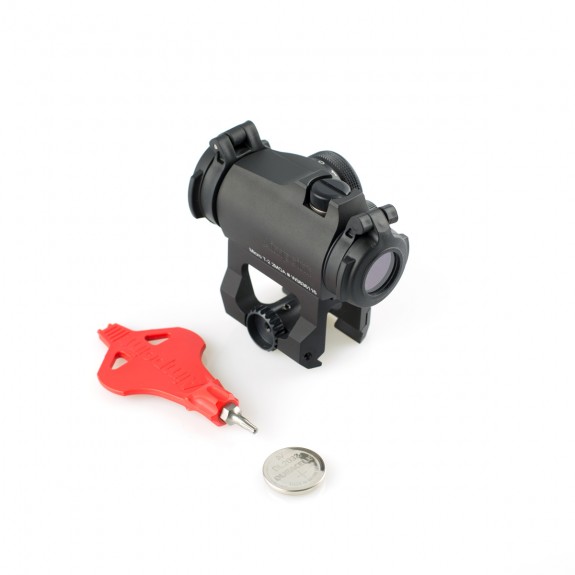
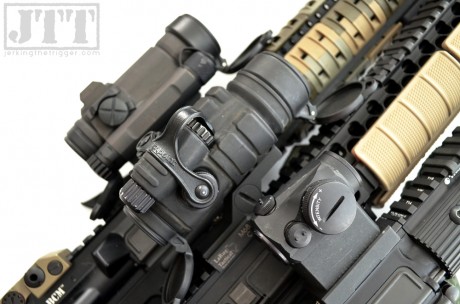
I didn’t have a hard time figuring out how to mount my Scalarworks LDM but this new instructional video is very well done and easy to follow if you need a hand. If you don’t have an LDM and are considering one, it gives you a really good look at how the thumb wheel and detent work. This clever set up is the secret to how easy it is to install/uninstall the LDM and how easy it is to achieve the same tension every time you install it which leads to solid repeat zero performance.
Tag Archives | Aimpoint
Scalarworks Aimpoint Combos
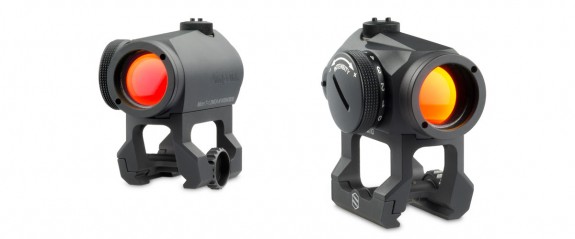
The Scalarworks LDM sold out relatively quickly on the strength of its standing as the lightest QD Aimpoint Micro mount on the market. It is now back in stock and available separately or in combination with an Aimpoint T1, H1, or T2. I won’t miss out this time. I already have an LDM on the way to replace the mount on my lightest build.
Daniel Defense Releases New Aimpoint Mount and SLiM Rails
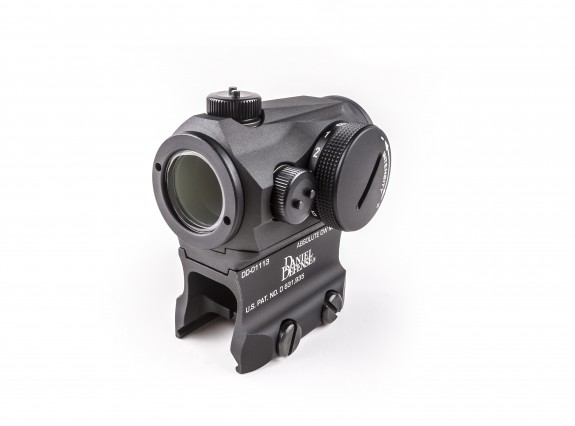
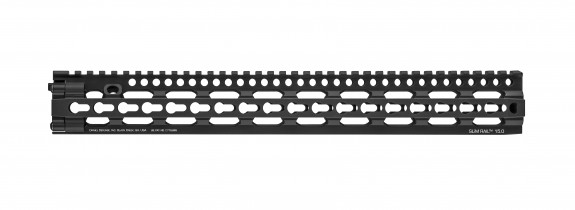
Daniel Defense released two new products today: a redesigned Aimpoint Micro Mount and the SLiM Rail.
The new Aimpoint Micro Mount looks a lot like their previous Aimppoint Micro Mount at first glance. However, this new version is set at absolute co-witness height and can achieve lower 1/3rd co-witness via a very cool magnesium alloy spacer. Like its predecessor, it is very lightweight at just 1.5 ounces (or 1.8 with the spacer).
Our first look at the SLiM Rails (Slim, Lightweight, Modular) came with the release of the DDM4v11. Now they are available for purchase separately. These rails offer KeyMod attachment points at 3, 6, and 9 o’clock, continuous 1913 rail at the 12 o’ clock position, integrated QD sling swivel sockets, and the good news for Lite Rail users is that it will work with the Light Rail III barrel nut so swapping should be a snap.
Scalarworks LDM for Aimpoint Micro
When it comes to optics mounts, you can usually have QD functionality or light weight but not both. The new Scalarworks LDM, or Low Drag Mount, for the Aimpoint Micro series of red dot sights appears to offer both.
Scalarworks claims that the LDM is the lightest Aimpoint Micro QD mount on the market and at just 1.33 ounces for the absolute co-witness version and 1.38 ounces for the lower 1/3 co-witness model, that is easy to believe. The LDM features a clever, notched thumb wheel that is retained by a ball detent. It looks like you could easily witness mark the correct notch to ensure that you always set the same tension when reinstalling the sight. The thumb wheel set up is also very low-profile and actually nested into the mount itself to reduce snagging.
There are a lot of good ideas in this mount. It will be interesting to see if Scalarworks can expand these design elements into other optic mounts. Check out the Scalarworks LDM.
Sharpen Your Red Dot
I have written before about how the aiming dots on some Aimpoints don’t always look very crisp to my eyes. Yet, I continue to use them because they are clearly the best red dot site on the market. The Aimpoint Micros (T-1 and H-1) in particular appear more like a starburst than a dot to me. This makes accurate shot placement challenging especially as the distance from the target increases. I continue to use them in spite of all that because of their amazing combination of compact size, light weight, long battery life, and extreme durability. Well, that and I have a work-around.
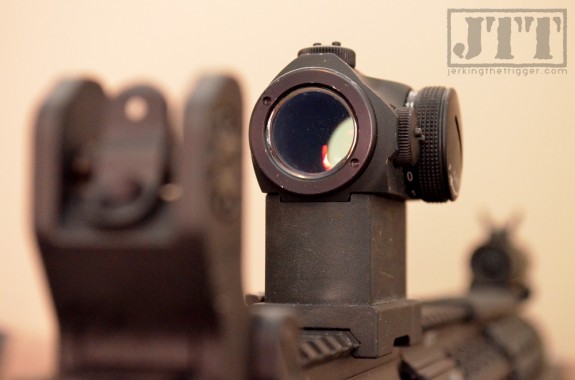
I am certain that it is not unique or original to me but I have found a simple work-around for the issue that works very well for me. I simply look at the aiming dot through the small aperture of the rear sight when precision is needed. Looking through the small aperture makes the dot in an Aimpoint appear perfectly round and crisp and it also seems to bring the target into the same plane allowing both the dot and the target to be relatively crisp. There is obviously some principle of light or vision at play here that is beyond my ability to explain. Go try it now and you will see what I mean. I’ll wait…
This isn’t a perfect fix and it isn’t for every situation. It might require some adjustments to your carbine and may not be for everyone.
When to Look Through the Rear Aperture
This is obviously not a technique that is applicable to all situations. I find that there is really no need to do it until distances extend beyond 100 yards. You certainly would not want to spend time finding your sight picture through the small aperture if you are engaging a bank of targets that are just 25 yards away. There is really no need to because even if the dot is slightly misshapen to your eye, it still probably offers an acceptable level of refinement for this task.
To be clear, I am not advocating that you always look through the rear sight when using an Aimpoint. The approach that works for me is simple: I look through the rear sight only when time allows and/or the accuracy requirement of the shot requires it.
How to Configure Your Carbine
I am not sure there is a hard and fast way that your carbine must be configured for this to work though I have found that there are probably some best practices. For instance, I don’t think it is a good idea to have to deploy a folding rear sight in order to look through the small aperture. This is doubly true for sights that do not deploy with the small aperture in place. I keep my rear sight in the up position to avoid this.
I find that I prefer a lower 1/3 co-witness setup in general but it also happens to be well suited to this technique. It allows me to easily look over my deployed rear sight while maintaining a normal cheek weld when the need for speed is more pressing than the need for a sharp, crisp aiming point. When I need that crisp aiming point, I simply press my eye down to the iron sight.
I should probably also note that I still keep both eyes open when using this technique. I find that my brain can switch to the clearer view through the rear aperture fairly intuitively. This principle should be easy for those who are already used to using magnified optics with both eyes open.
Wrap Up
I want to reiterate again that I am not advocating always looking through the rear sight when using an Aimpoint and I am not saying that it is necessary to look through the sights to use an Aimpoint (this misinformation seems to come up time to time). This is simply a technique that works for me when the specific set of circumstances that allow it arise. Try it sometime.

